Cases in CRM Advise are used to manage long-term or complex advising matters that require follow-up, documentation, and collaboration.
Accessing Case Management Dashboard
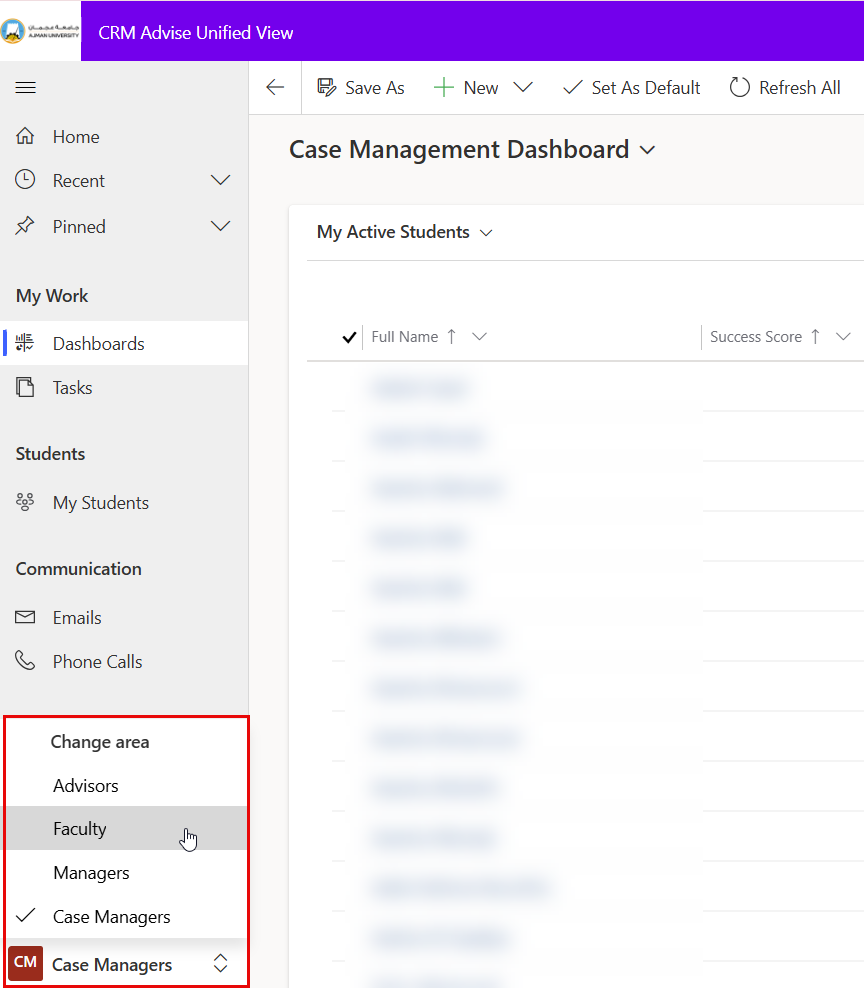
You can access the Case Management Dashboard through the role navigation dropdown menu, which allows you to switch between different roles such as Advisors, Faculty, and Case Managers.
For example, you can switch from Advisor to Case Manager depending on your assigned permissions.
Accessing Cases for a Specefic Student
-
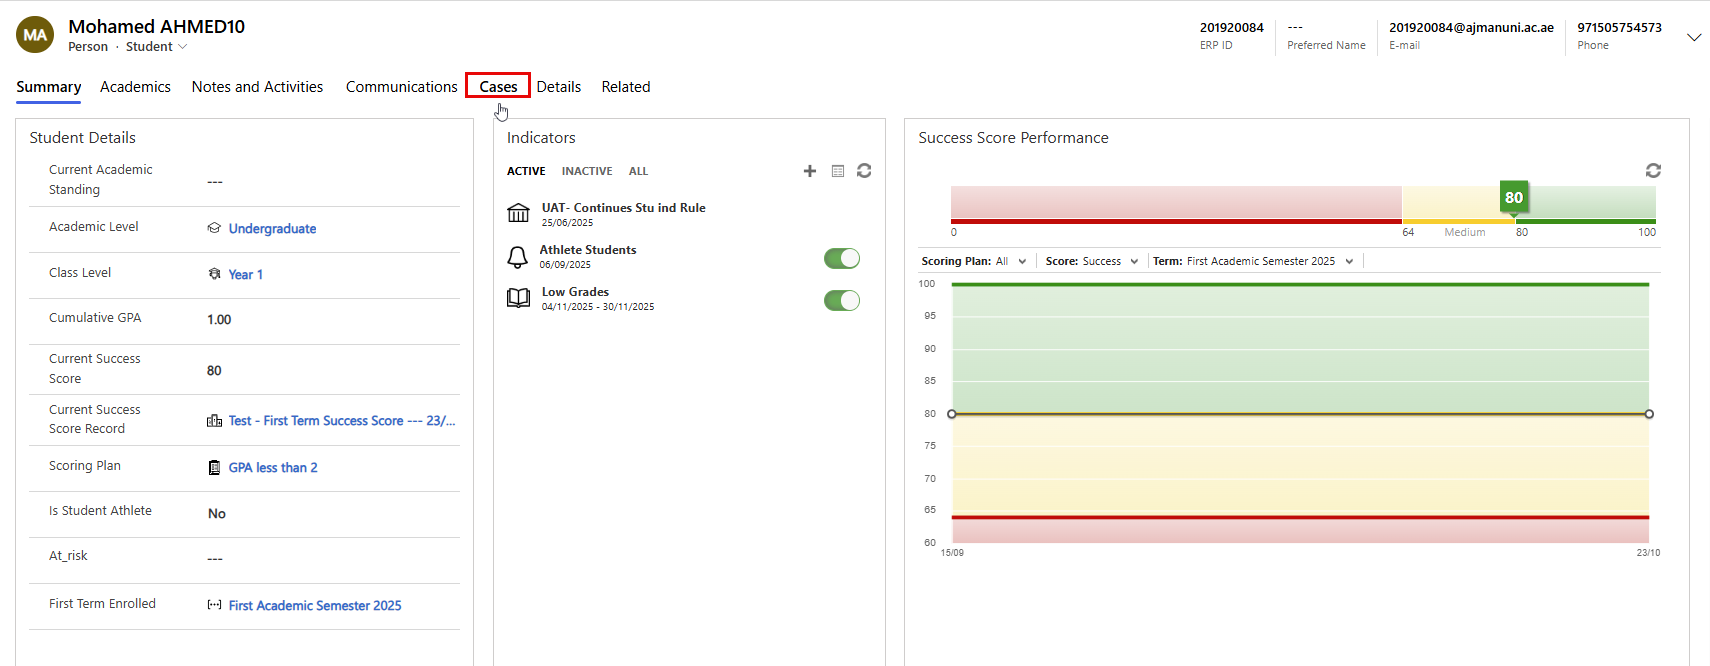
From your My Advisee List, click the student’s Full Name to open their profile.
-
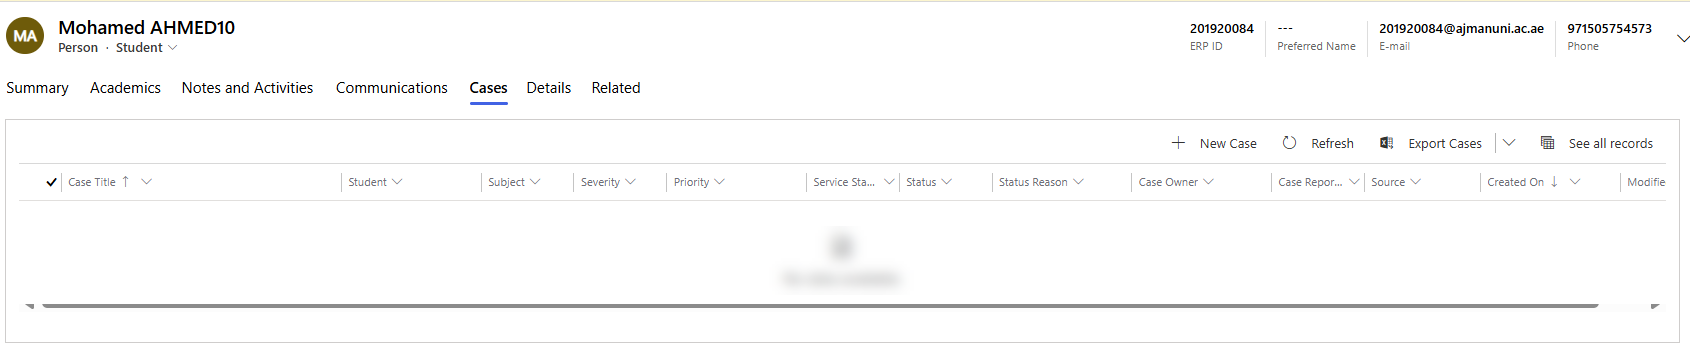
Go to the Cases tab to see existing or closed records.
-
The list displays all cases linked to the student, including Case Title, Status, Owner, Priority, and Created On details.
Creating a Case
To open a new advising case:
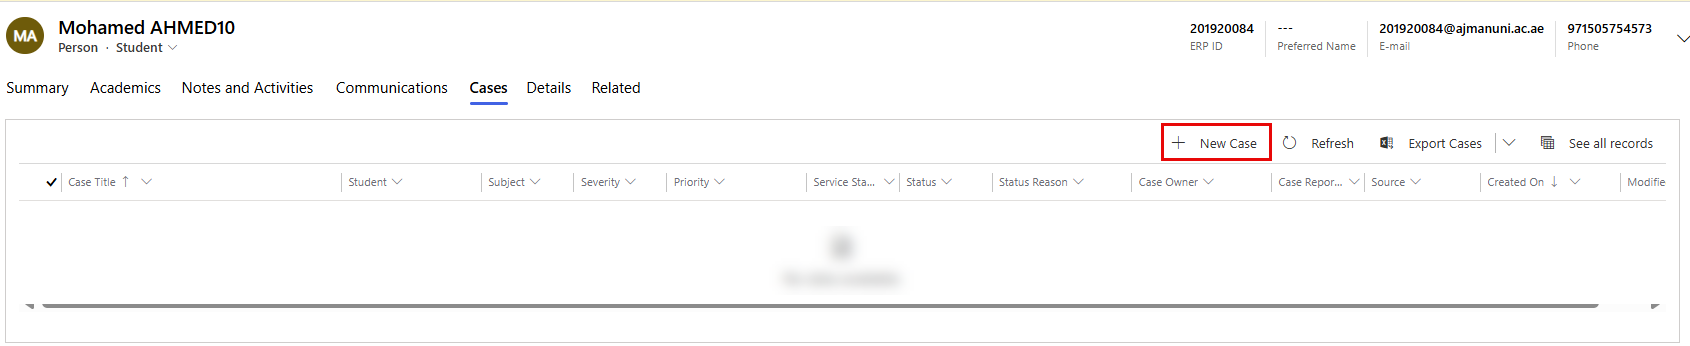
- From your My Advisee List, click the student’s Full Name to open their profile.
- Go to the Cases tab to see existing or closed records.
- Click + New Case on the top menu.
- Complete the Case Form with the following information:
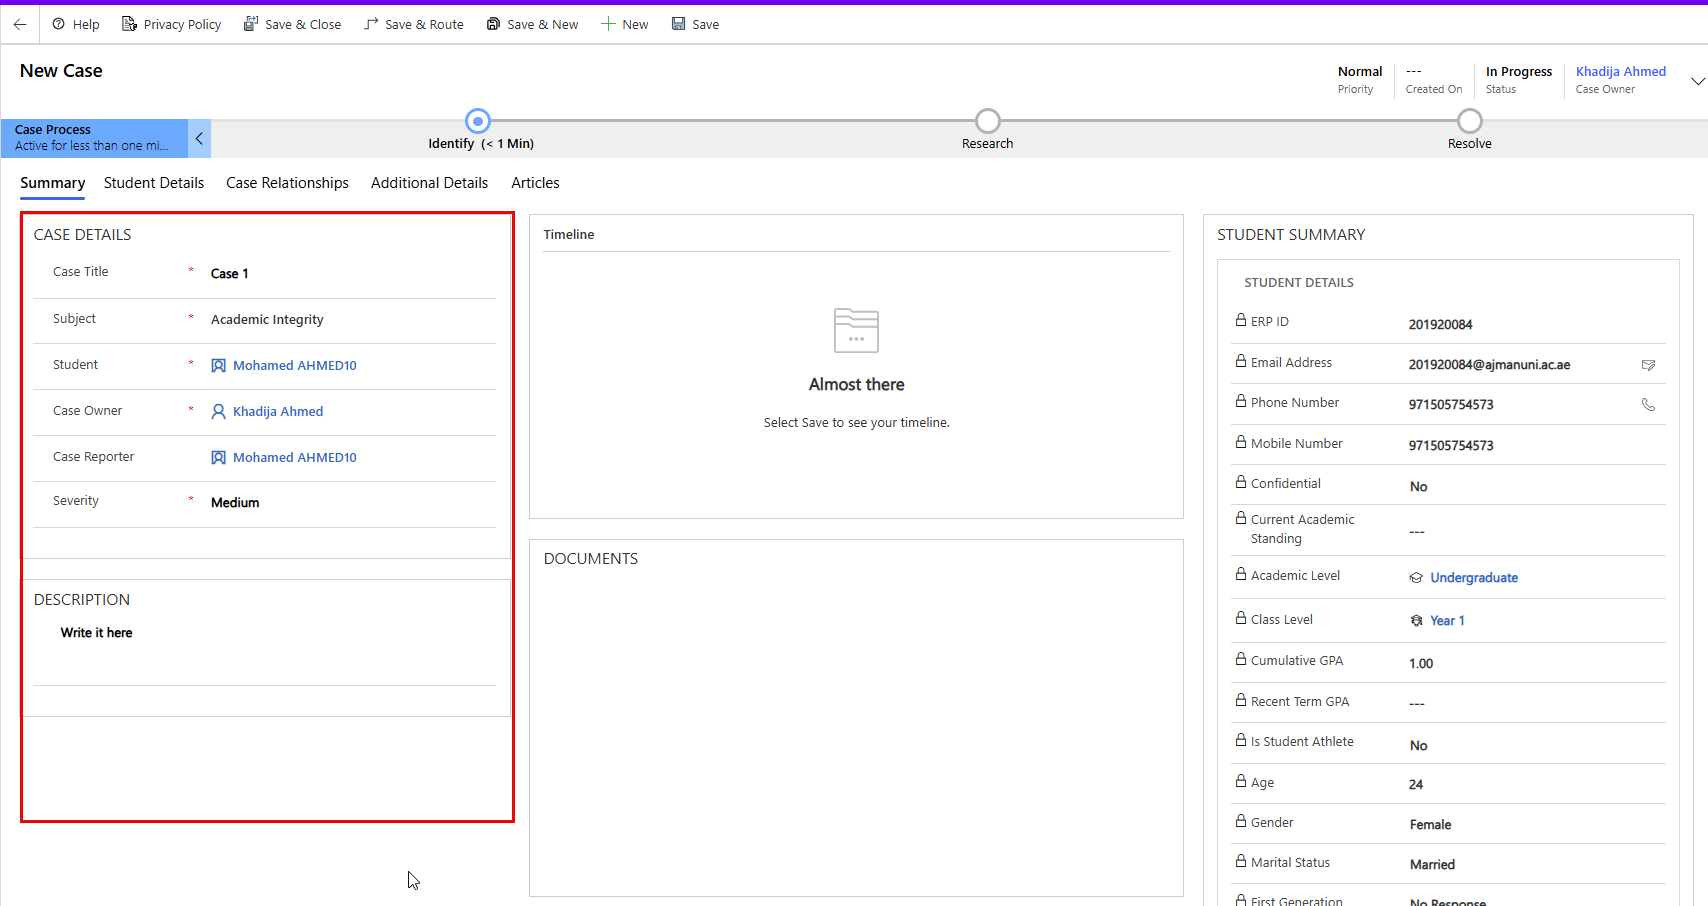
Case Details Section:
This section represents the identifying information of the case.
- Case Title: Enter a clear and descriptive name for the case (e.g., Academic Warning – Spring Term).
- Subject: Specify the main topic or focus area of the case (e.g., Low GPA, Attendance Concern, Disciplinary Follow-up).
- Case Owner: Automatically filled with your name, indicating who is responsible for managing and following up on this case. You can reassign it to another advisor if needed.
- Case Reporter: Identifies the individual who initially reported the issue or concern. This could be another faculty member.
- Severity: Select the appropriate level to indicate the urgency or seriousness of the case (e.g., Low, Medium, High).
Description Section:
Use this area to record detailed information about the advising concern or case background.
- Once all information is entered, review the form for accuracy. Then click Save & Close to create the case.

After saving, the case appears under the student’s record and in Manage Cases → Manage Cases, where you can continue to manage, update, and close it as needed.
Managing an Existing Case
Once a case is created, you can track its progress and update it as actions occur, the following actions are available on the top menu bar of the Case record:
- Edit: Open the case form to make updates to any existing fields. This option is used for ongoing updates or to correct information.
- Delete: Permanently remove the case from the system if it was created in error. Use this option carefully, as deleted cases cannot be recovered.
- Resolve Case: Marks the case as resolved once the advising issue has been successfully addressed.
When selected, you can add a Resolution Description summarizing how the matter was closed. - Cancel Case: Cancels a case that is no longer relevant or needed.
- Assign: Transfers ownership of the case to another advisor.