The Indicators section in CRM Advise helps advisors identify and monitor important academic or behavioral patterns that may affect a student’s success such as low grades, attendance issues, or specific achievements. Indicators serve as early alerts, allowing advisors to take timely action and provide appropriate support.
Accessing Indicators
You can access Indicators directly from a student’s profile:
- From your My Advisee List, click the student’s Full Name to open their profile.
- The Indicators panel is located in the middle section of the screen, between the Student Details on the left and the Success Score Performance chart on the right.
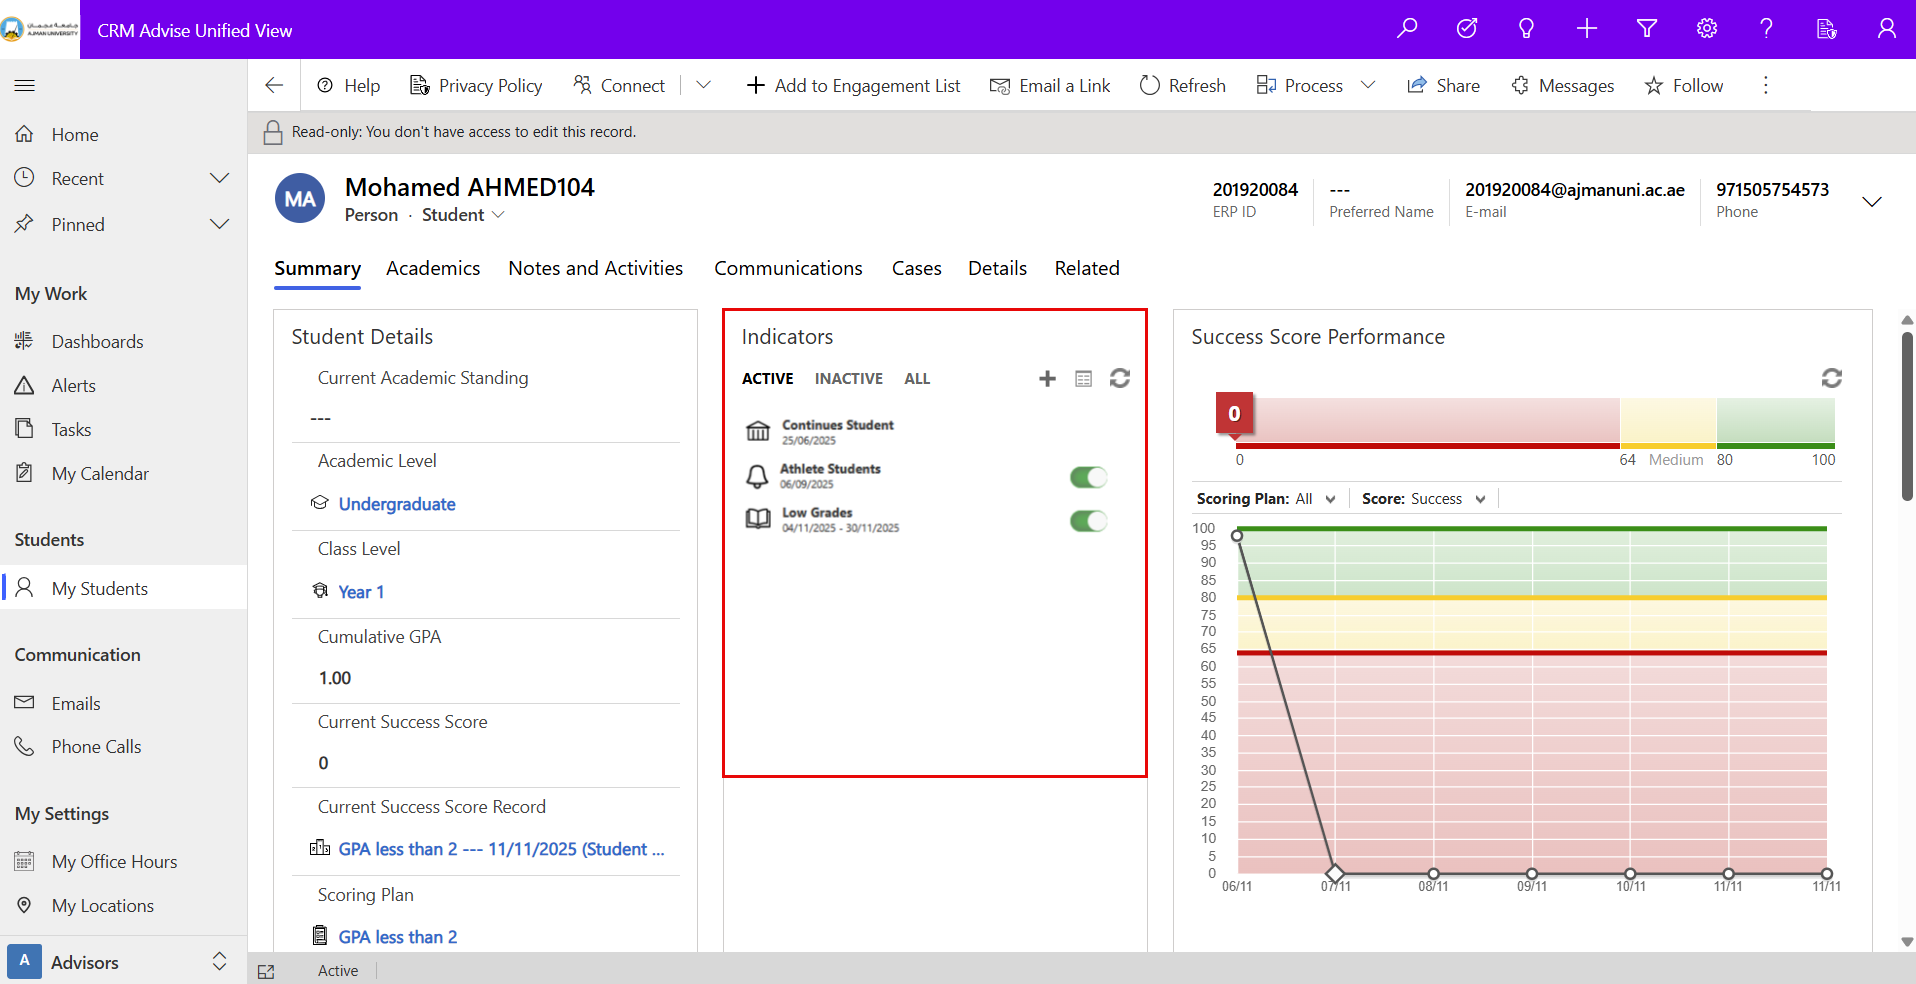
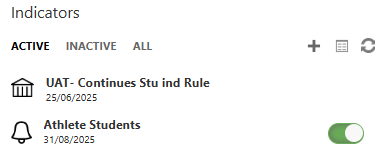
The panel provides three viewing options:
- Active: Displays currently active indicators.
- Inactive: Shows previously closed or inactive indicators.
- All: Combines both active and inactive indicators.
Each indicator shows:
- The indicator name (e.g., Athlete Students, UAT – Continues Stu ind Rule).
- A date representing when the indicator was created.
- A toggle switch to activate or deactivate the indicator (green means active).
Add New Indicator
To create a new indicator for a student:
-
From your My Advisee List, click the student’s Full Name to open their profile.
-
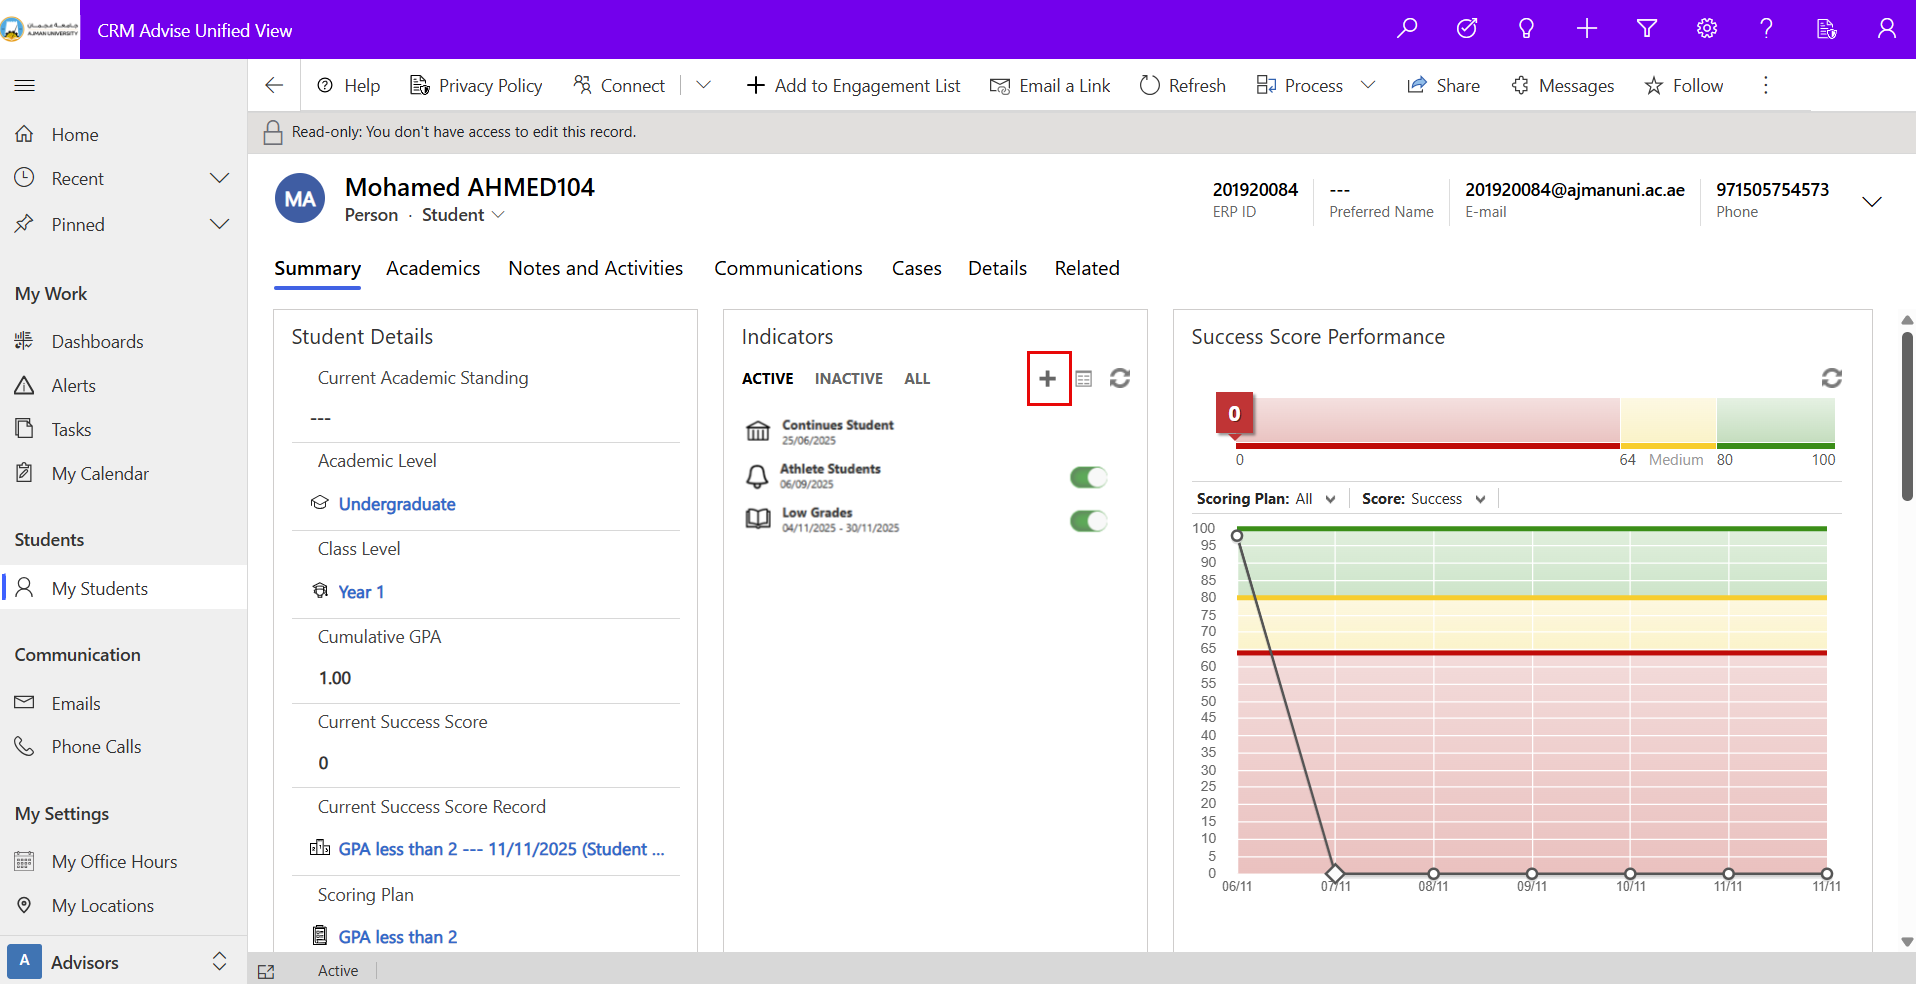
In the Indicators panel (middle section of the page, between Student Details and Success Score Performance), click the plus (+) icon at the top of the panel.
-
Complete the following fields:
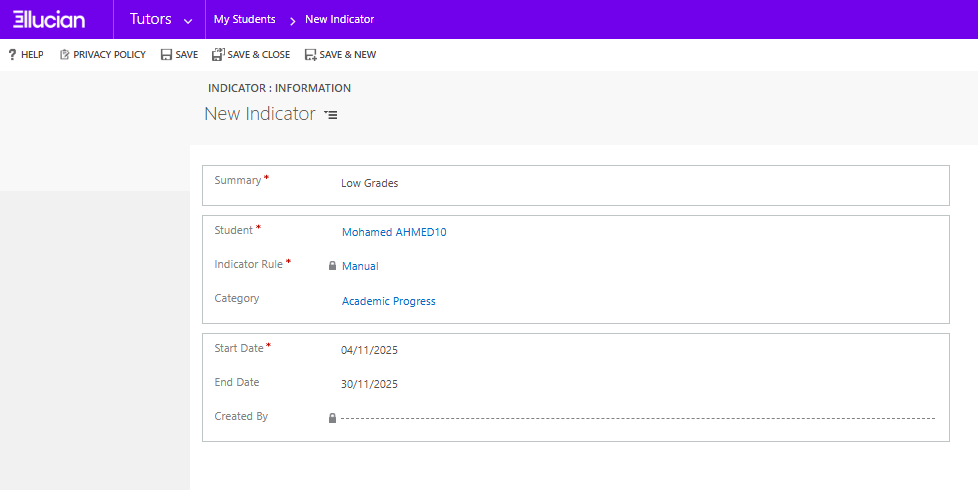
- Summary: Enter the name of the indicator (e.g., Low Attendance, Academic Warning, Outstanding Achievement).
- Start Date / End Date: Define the date range for which the indicator should remain active.
- Category: Select the type of indicator (Academic, Behavioral, Attendance, etc.).
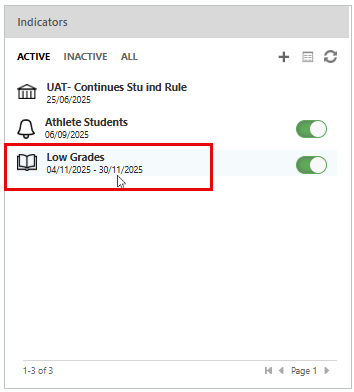
- Click Save. The new indicator will appear under the Active tab in the Indicators panel.
Managing Existing Indicators
From the same Indicators panel, you can manage existing indicators using the available options:
-
Activate/Deactivate: Use the toggle switch beside each indicator to turn it on or off.
-
Add New Indicator: Click the “+” (plus) icon to create a new indicator directly from the panel. This allows you to record additional academic or behavioral conditions that require monitoring.
-
View Full Grid: Click this icon to open the full indicators grid view. From there, you can view additional details, update information, or edit indicators (based on your access permissions).
-
Refresh: Click the refresh (↻) icon to reload and display the most up-to-date list of indicators.