Alerts provide real-time notifications for items that need your attention. They help you stay on top of important items. Alerts are created automatically by the system, ssers do not manually create alerts; instead, the system triggers them when certain actions or deadlines occur. This ensures that advisors are notified in a timely manner and can take the appropriate action.
Accessing Alerts
You can view and manage alerts in two main areas within CRM Advise:
Dashboard:
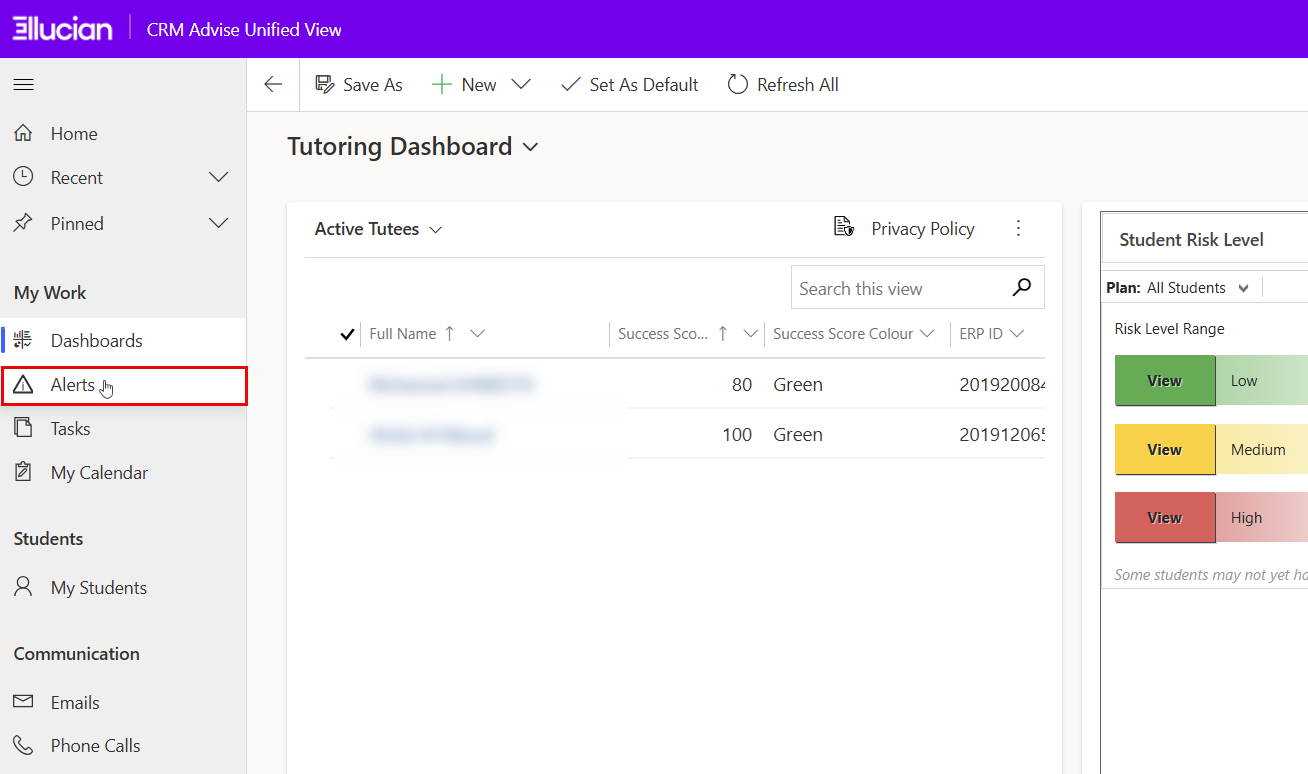
When you open CRM Advise, the Dashboard shows key advising information, including recent activities and alerts.
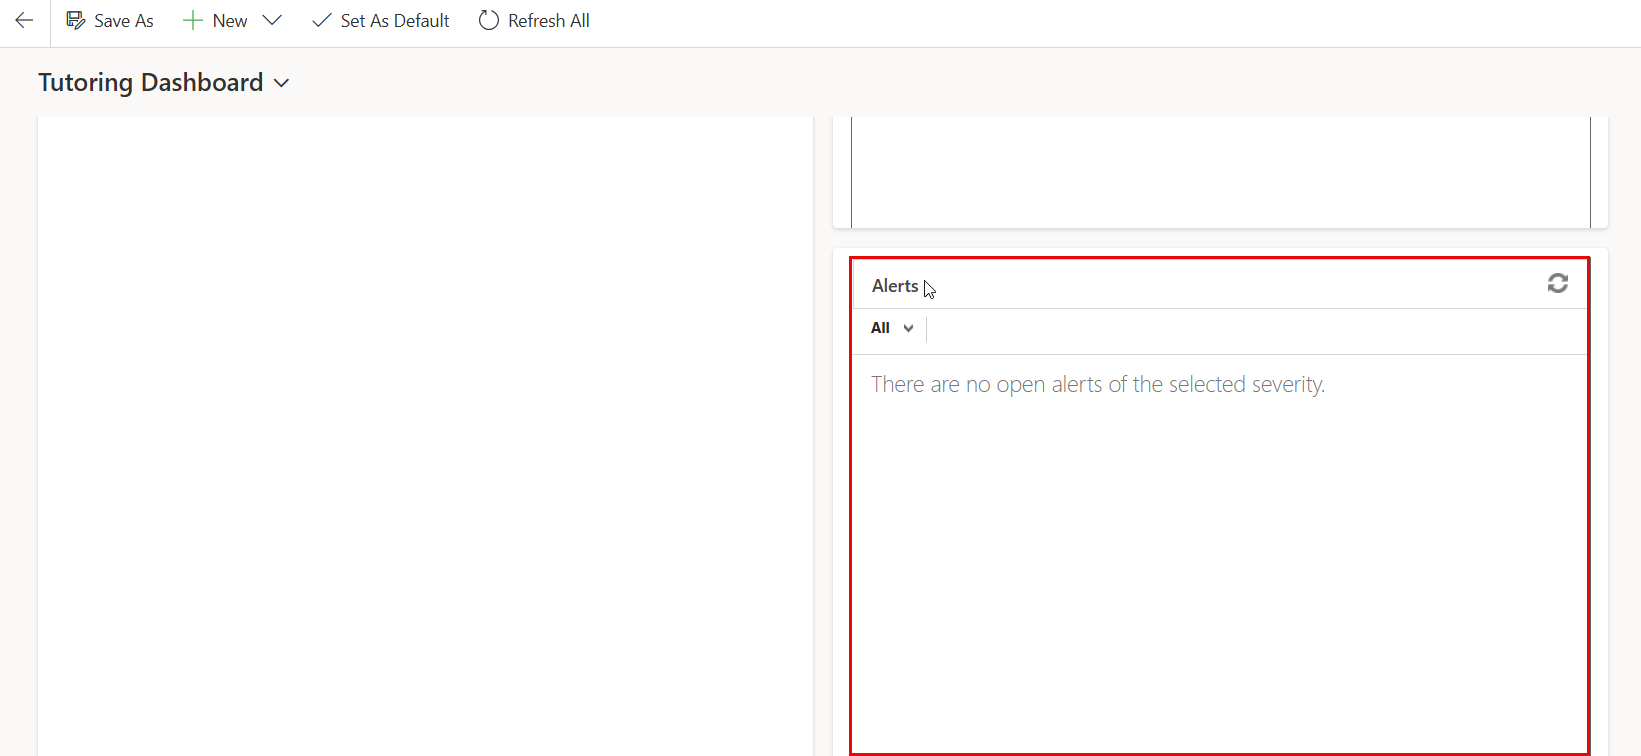
Alerts Section:
From the left menu, go to My Work → Alerts to view all active and resolved alerts.
Alert Types
Alerts in CRM Advise can be automatically generated by the system or manually created by users, depending on configuration and permissions.
- System-Generated Alerts: Most alerts are created automatically when certain conditions are met, such as:
- A task becomes due or overdue.
Example: A follow-up task reaches its deadline and has not been completed. - A case requires follow-up or has been inactive for a period.
Example: A case has had no updates for a number of days, depending on configuration. - A high-severity indicator is added to a student.
Example: An academic or behavioral concern is marked as “High Severity.”
Depending on system settings, alerts may also appear when:
- A new case or indicator is assigned to you
- A task is assigned by another advisor or staff member
- Automated workflows detect a condition requiring follow-up
2. Manually Creating an Alert
You can manually create an alert by following the steps below:
-
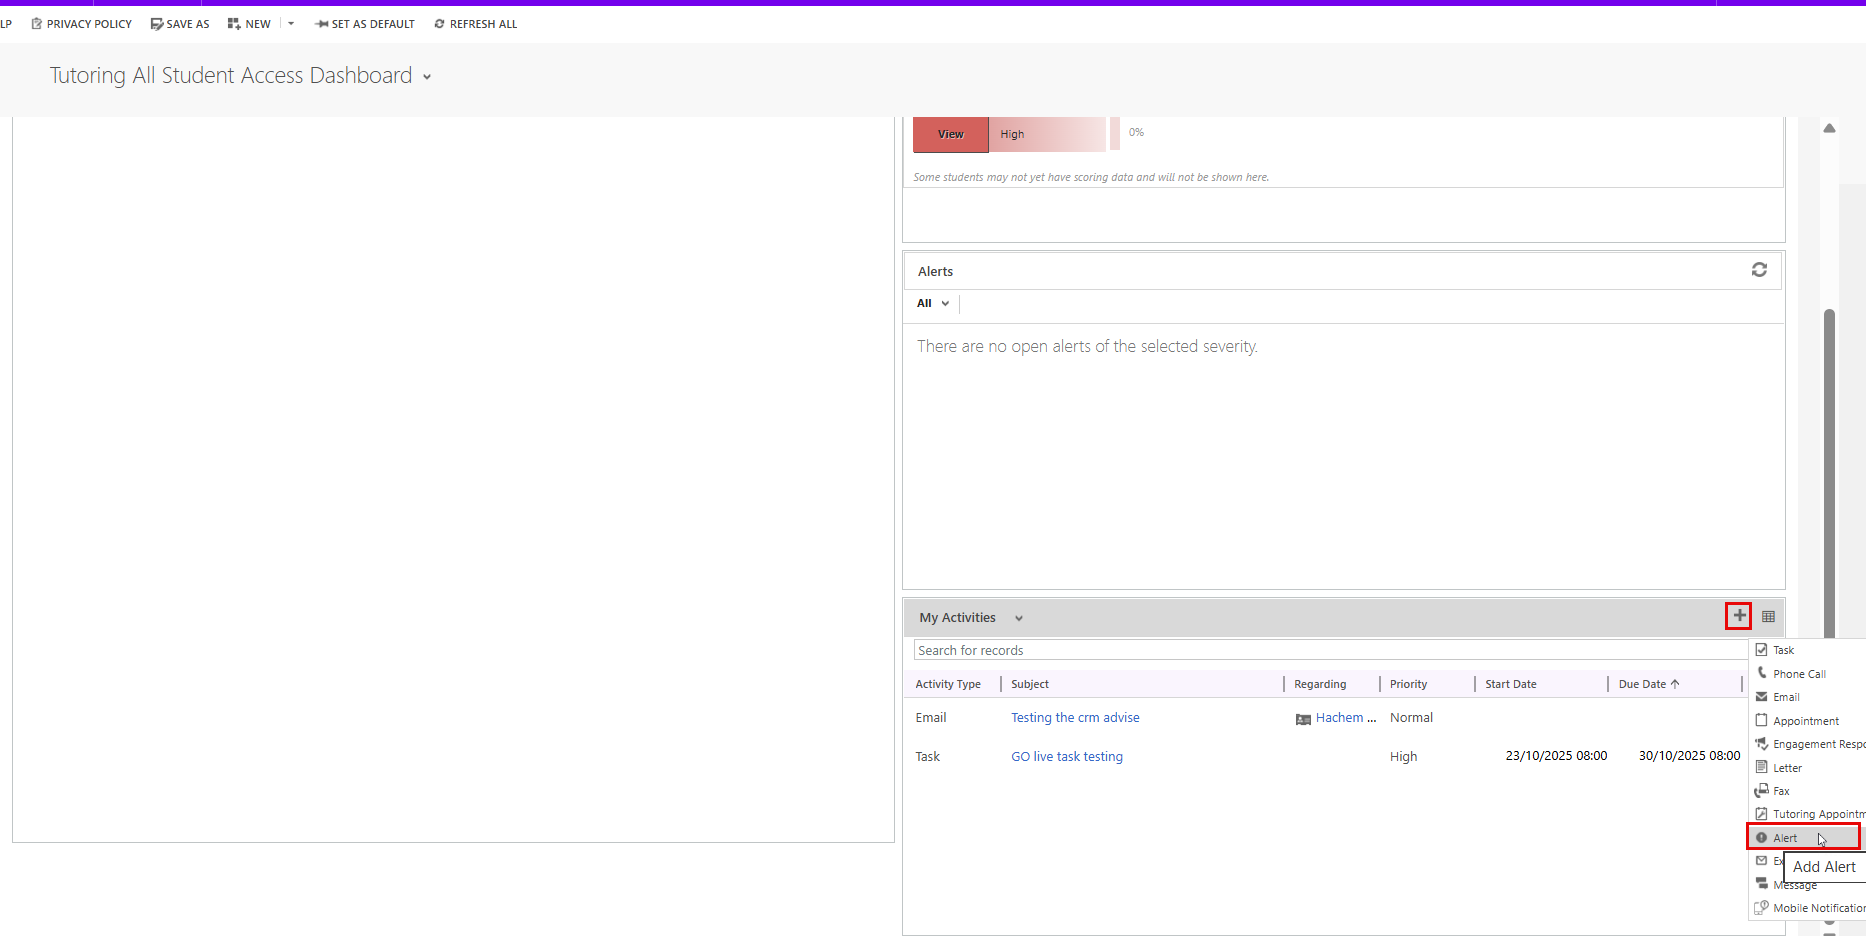
Go to the My Activities panel (on the dashboard).
-
Click the “+” (plus) icon in the top-right corner. From the dropdown menu, select Alert.
-
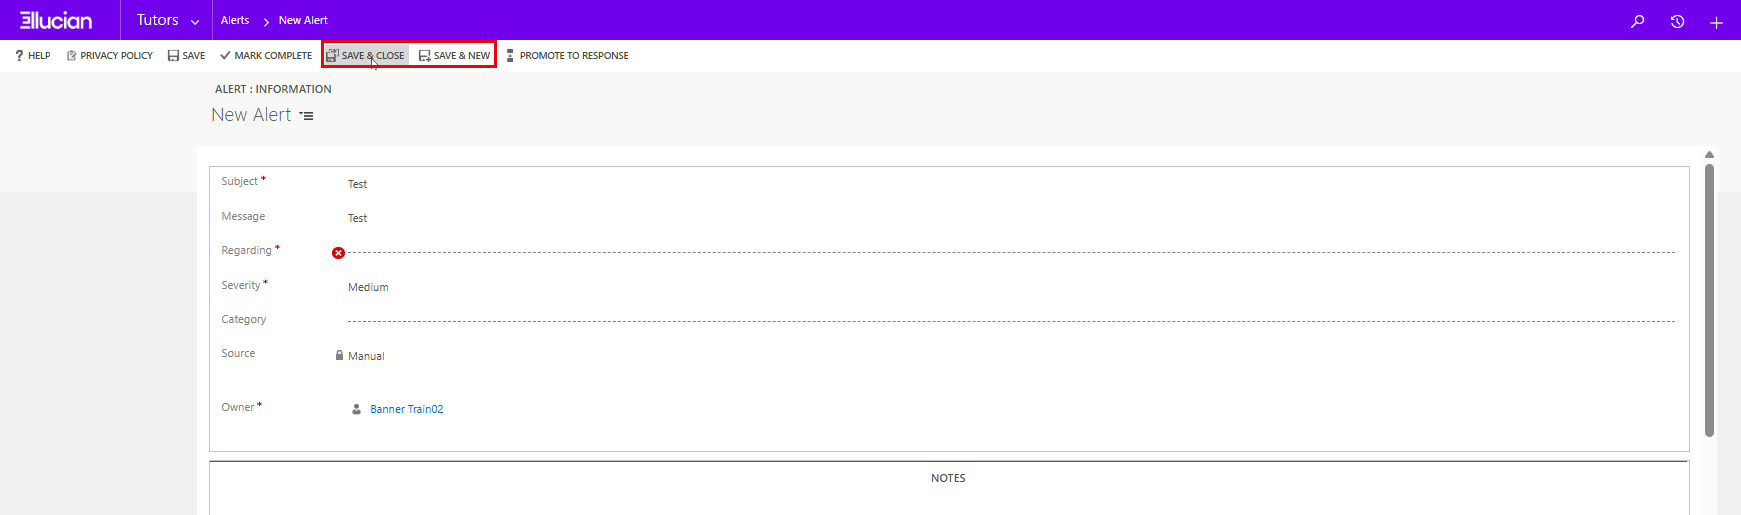
In the new window, fill in the alert details, such as:
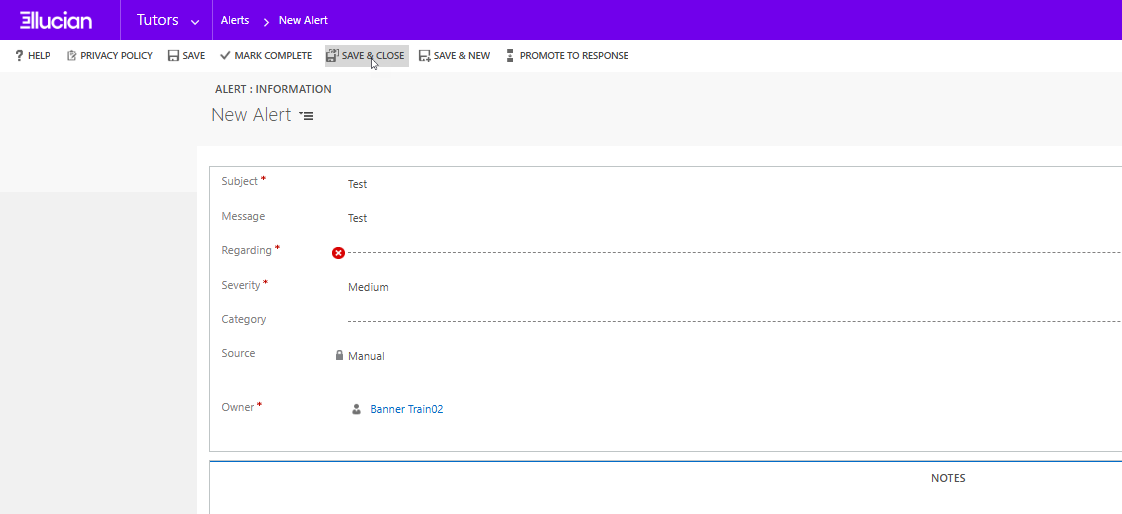
- Subject: Enter a brief title describing the purpose of the alert (e.g., Low Attendance Notification or Student Progress Concern).
- Message: Provide a detailed description of the issue or information related to the alert. This can include background context, required actions, or relevant notes.
- Regarding: ?
- Severity: Select the appropriate urgency level for the alert (e.g., Low, Medium, High).
- Category: Choose a suitable category such as Academic, Behavioral, or General to classify the alert type.
- Source: Identify the origin of the alert — for example, Advisor Reported, System Generated, or Faculty Notified.
- Owner: It is usually filled automatically with your name, but can be reassigned if needed.
- Click Save & Close, or Save & New to create new alert.
The alert will now appear in both Alerts list.