Backup & Restore
- 19 Oct 2021
- 2 Minutes to read
- Contributors

- Print
- DarkLight
- PDF
Backup & Restore
- Updated on 19 Oct 2021
- 2 Minutes to read
- Contributors
- Print
- DarkLight
- PDF
Article Summary
Share feedback
Thanks for sharing your feedback!
Watch our video tutorial about this topic below:
At the beginning of each semester, you will need to restore the courses’ materials which you have created in previous semesters. In order to do this, you will need first to back up the course from the previous semester and then restore it in the current semester, by following the below steps.
Backup Courses
- On the Dashboard, scroll down to reach the Timeline and Courses section.
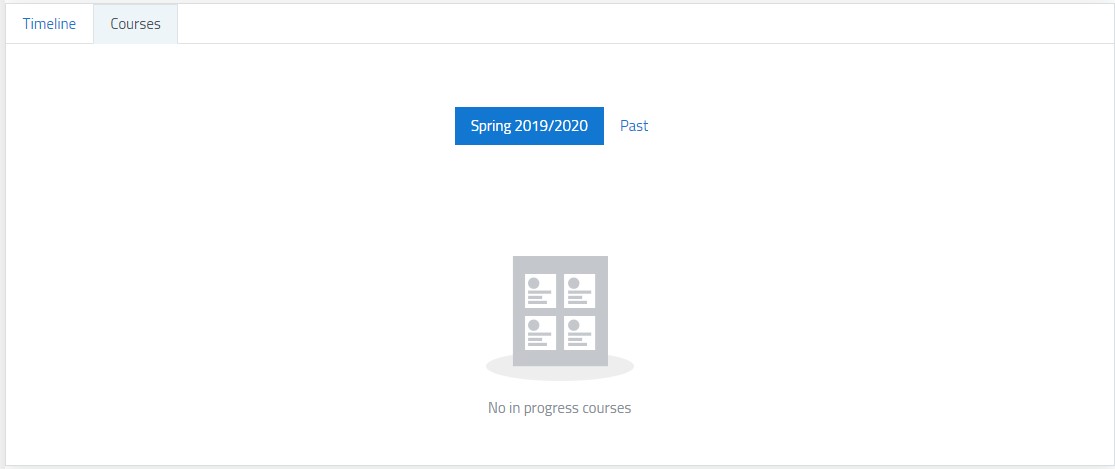
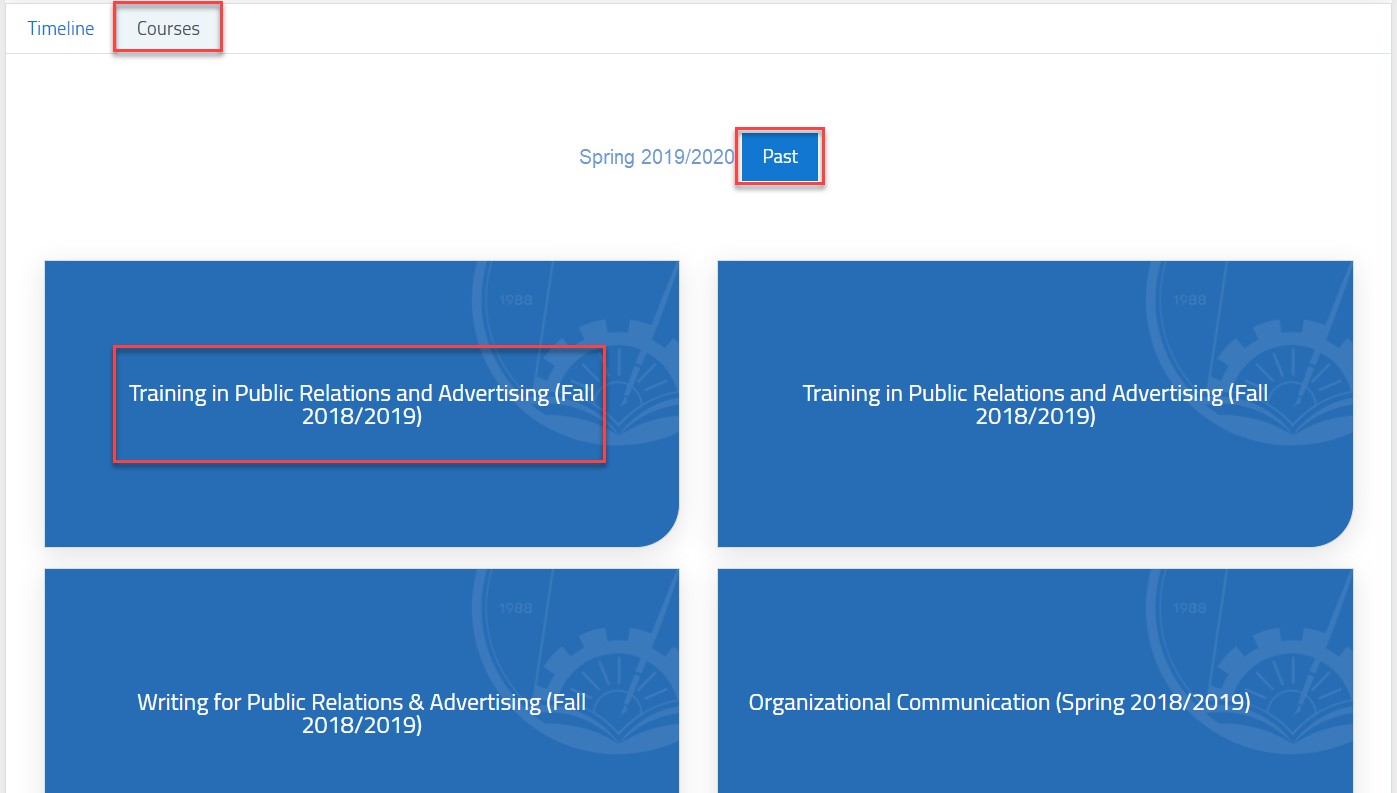
- Click on Courses, then on the Past button and choose the course you’d like to backup.
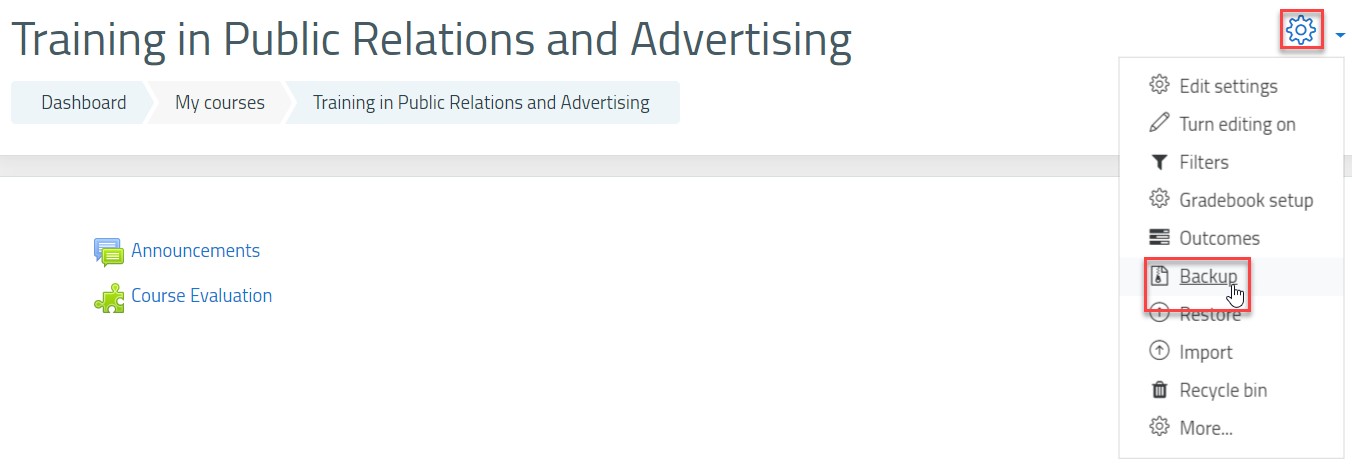
- Inside the course, click on the gear icon, and then on the Backup button.
- Click on the Jump to Final Step button to perform the backup. Otherwise, if you wish to edit the different parts to be included or excluded (such as the Online Classes), click on the Next button.
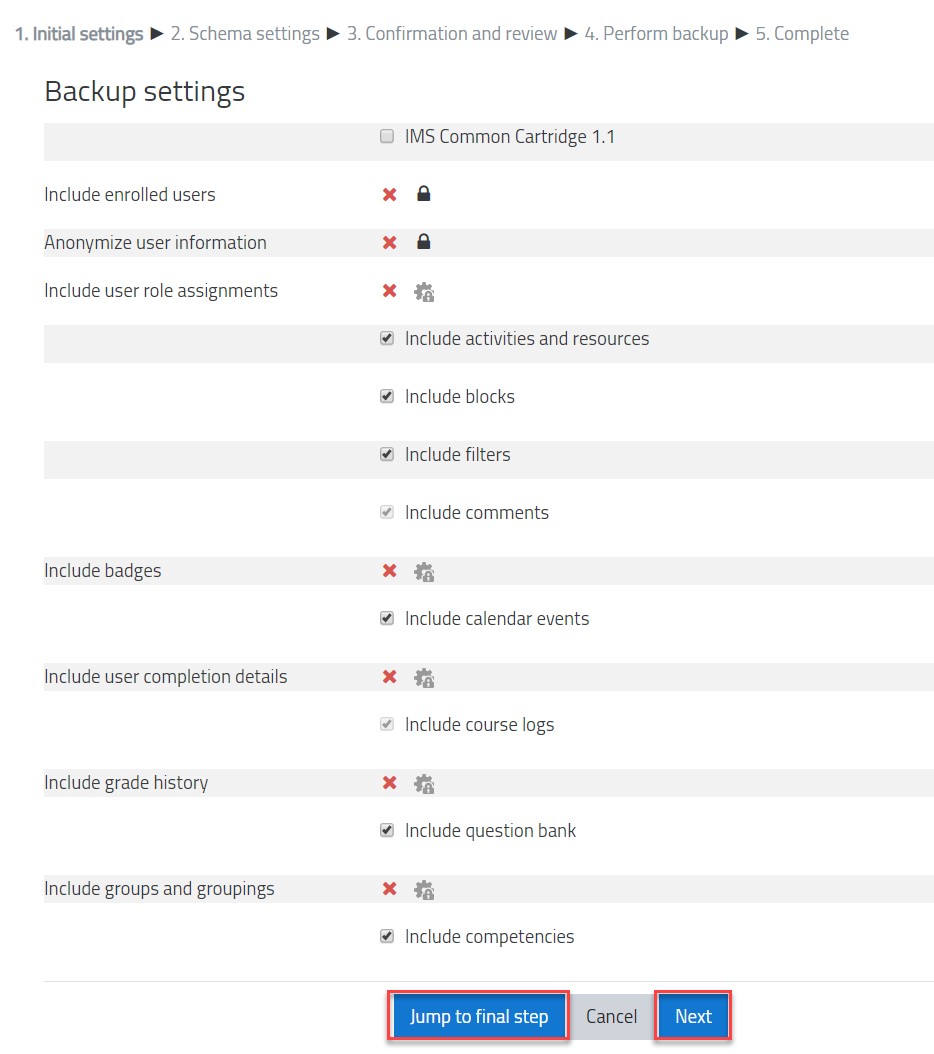
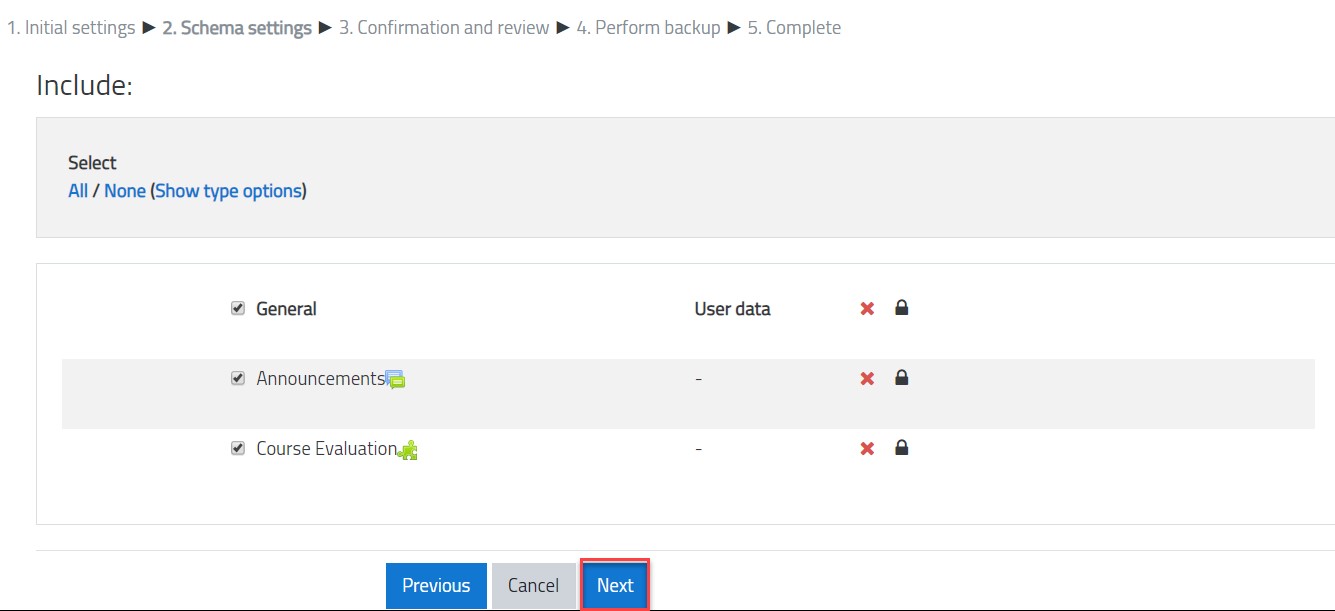
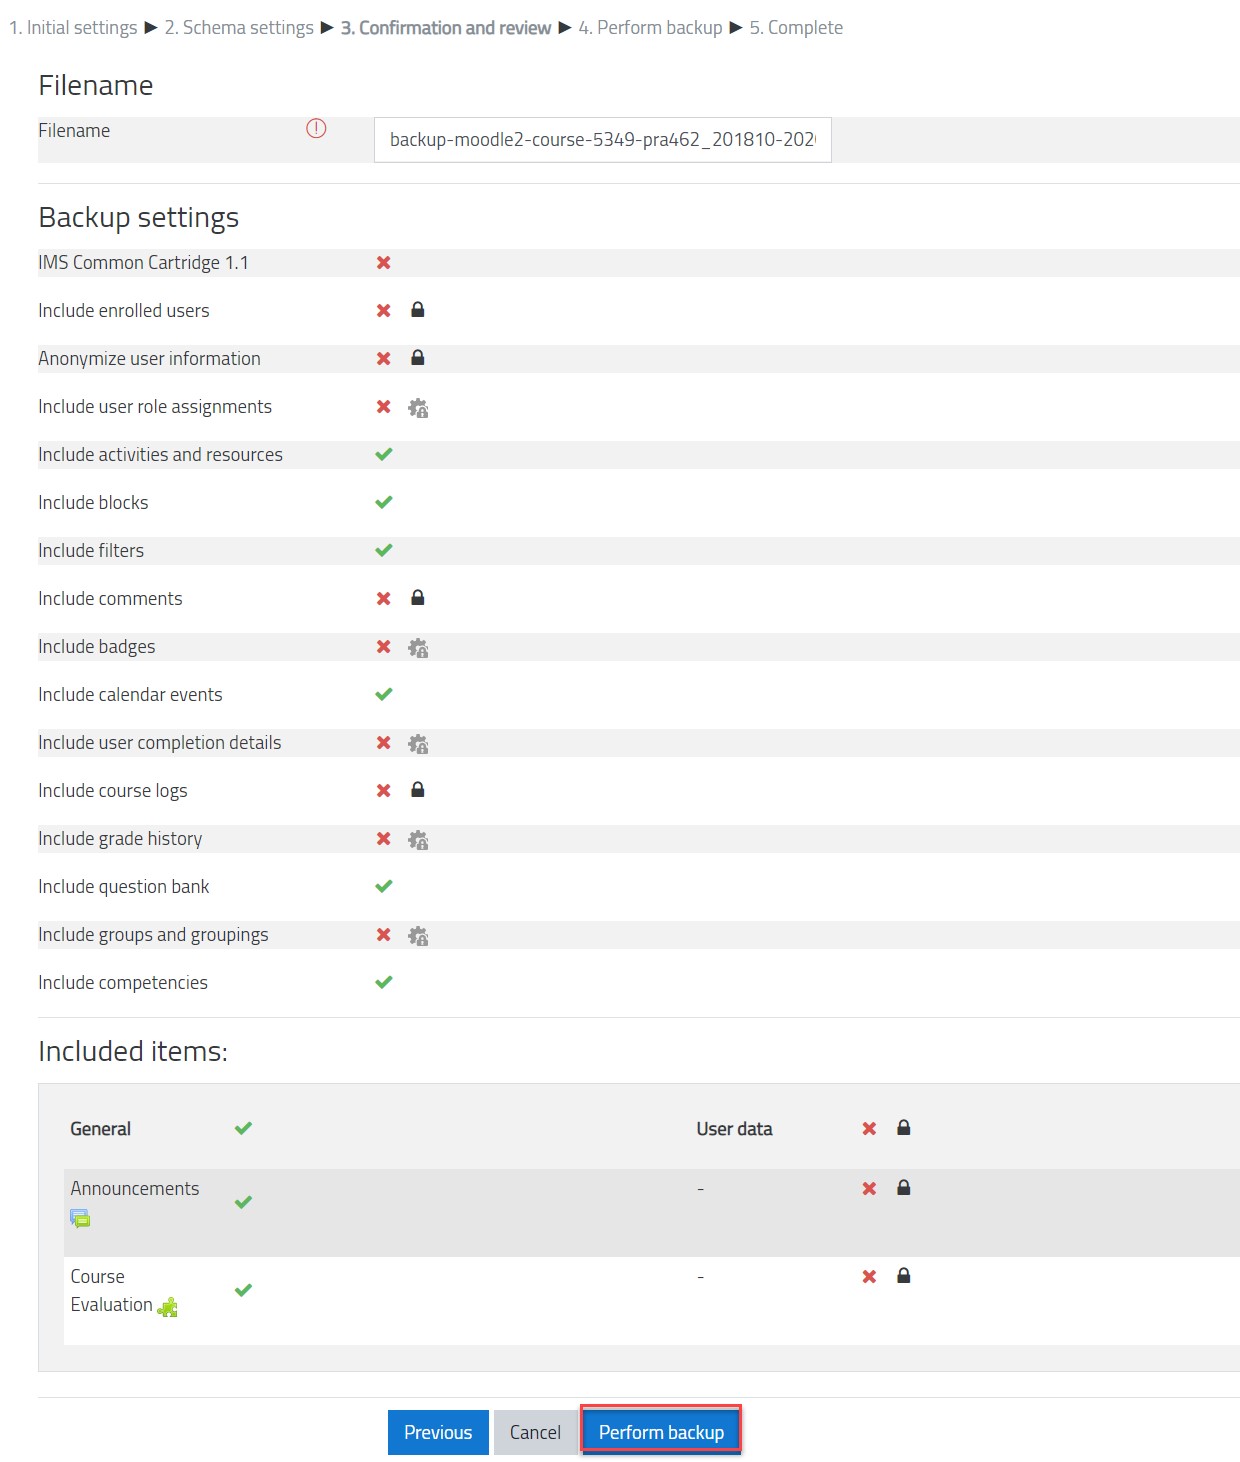
- If you chose to edit the different parts of the course before backing it up by clicking on the Next button (as illustrated in the previous figure), then the below page will appear for you, select/deselect the activities as needed and click on the Next button again, then click on the Perform backup button. The below two figures illustrate the steps.
 Note:Please make sure to deselect the parts related to the Online Classes as illustrated below, then click on Next.
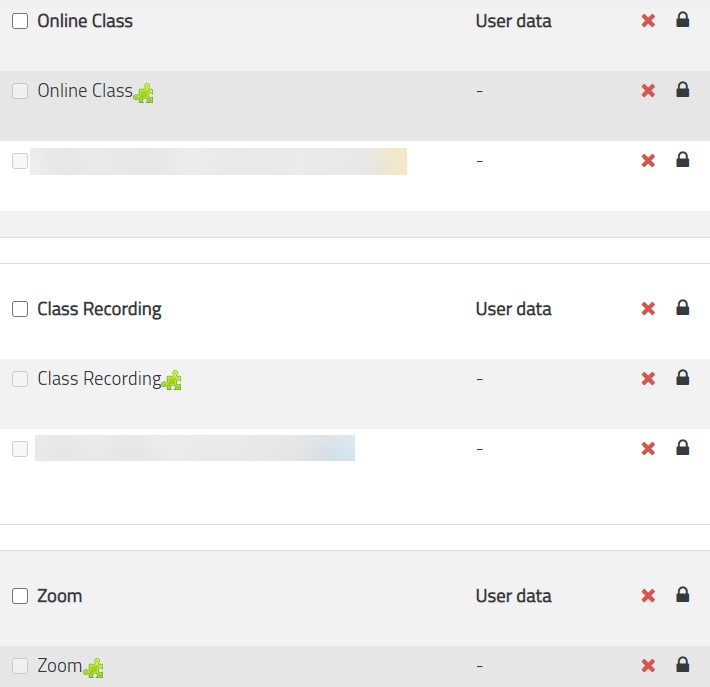
- Click on the Continue button, as illustrated below.
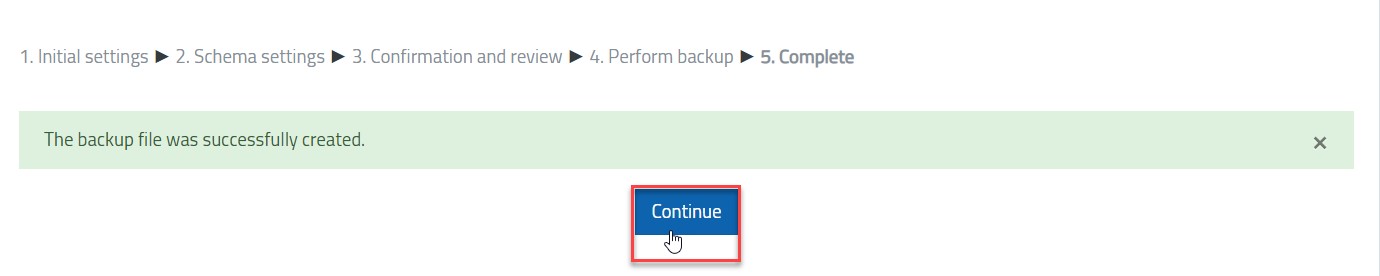 Note:Once you complete the above steps, the page illustrated below will appear for you, please ignore it as there’s nothing else needed from you to complete the course backup.
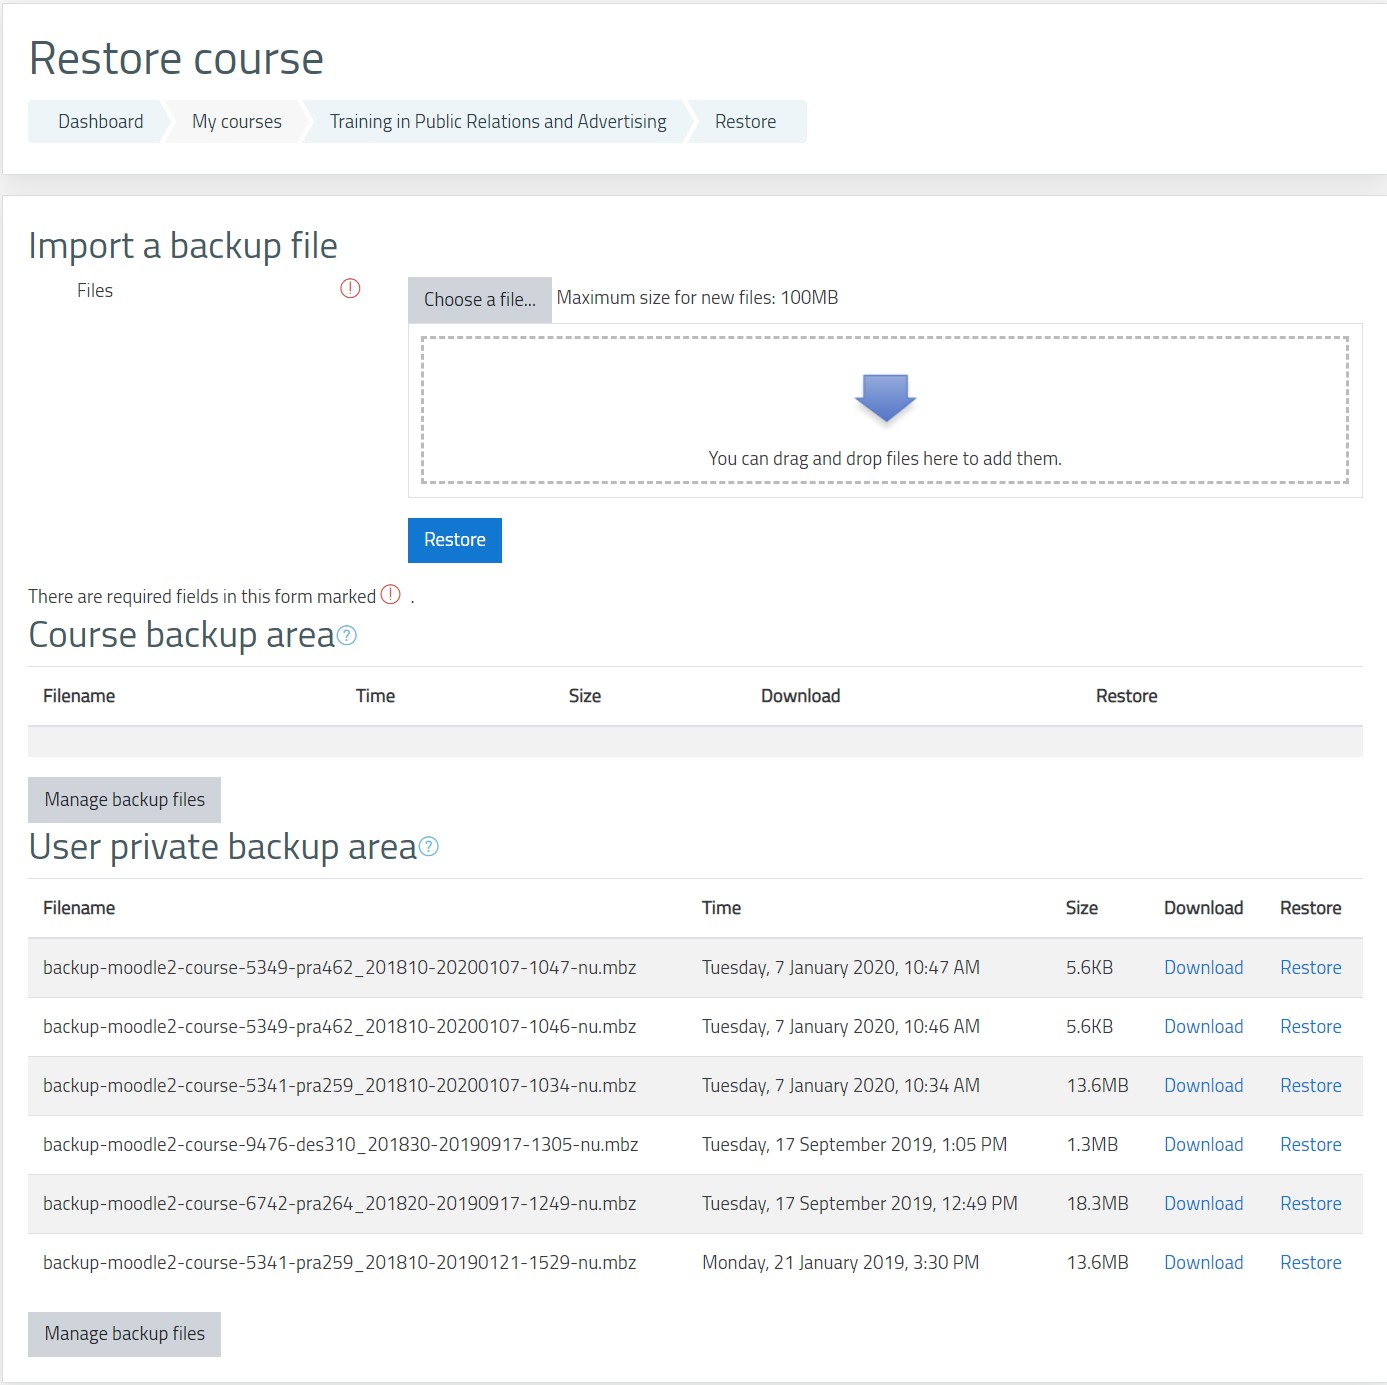


Restore Courses
- Click on the Dashboard button.

- Click on Courses and choose the course you’d like to restore the materials in, which is available under the current semester section.

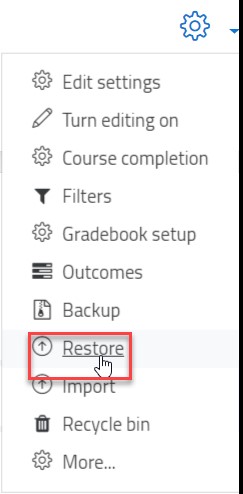
- Inside the course, click on the gear icon, and then on the Restore button.
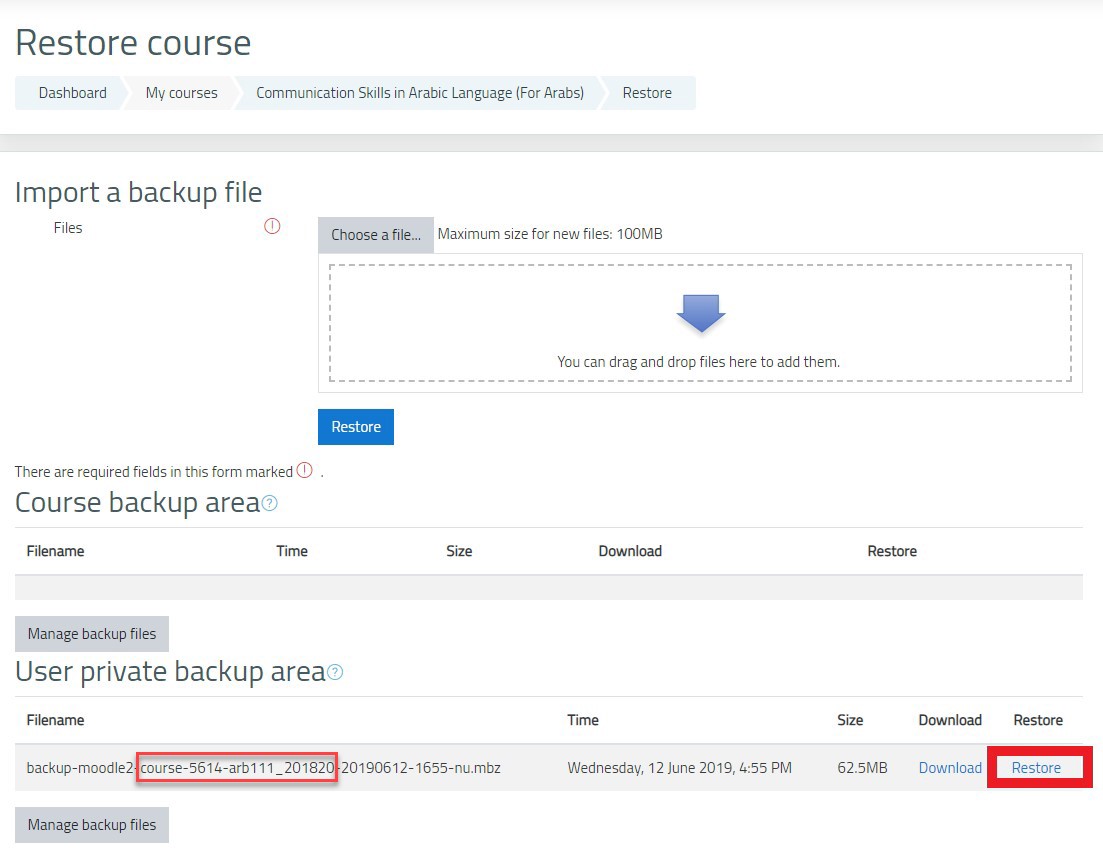
- Under “User private backup area” section, choose the course you’d like to restore by clicking on the Restore button, as illustrated below. Noting that the file name based on the course name and semester.
- A page with all details to be included will appear for you. Scroll down and click on the Continue button.
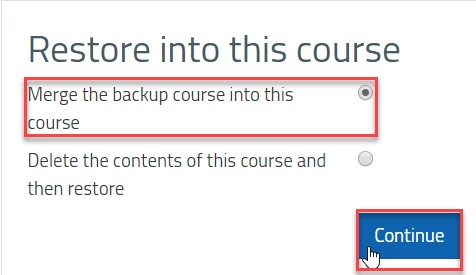
- Under the “Restore into This Course” section, make sure that the “Merge the backup course into this course” is selected and click on the Continue button again.
- In the “Restore Settings” page, click the Next button.
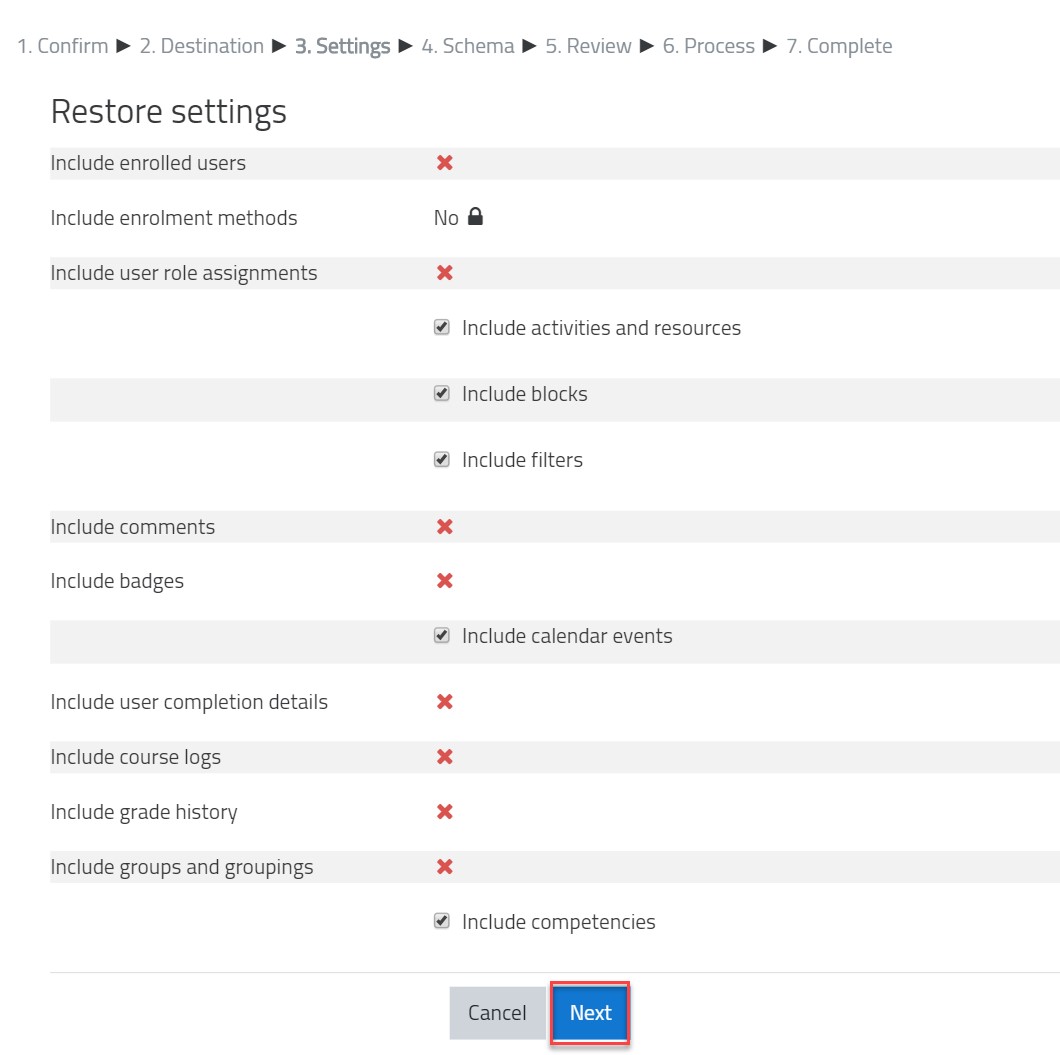
- Click on the Next button again.

- Lastly, click the Perform Restore button.

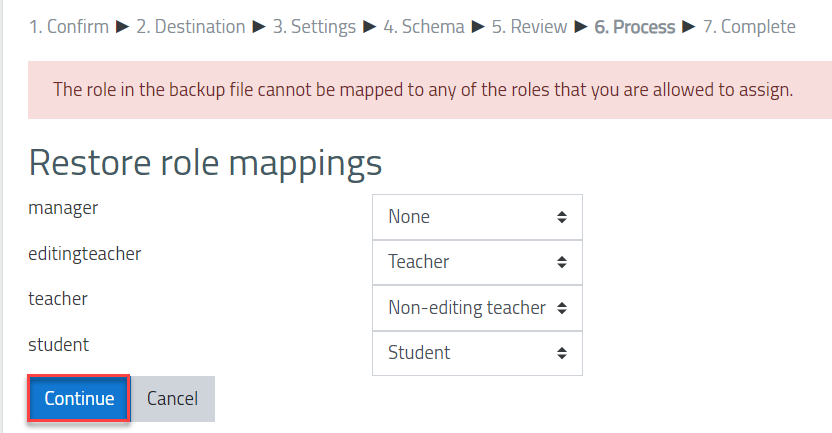
- Ignore the message and click on the Continue button.
- Once the course is restored, you will receive the below notification. Click on the Continue button.
 Note:After restoring the content of a course, hide content and items, and change the assignments and quizzes dates and time as needed.


Was this article helpful?