Backup and restore for Online Exam
- 01 Sep 2025
- 1 Minute to read
- Contributors

- Print
- DarkLight
- PDF
Backup and restore for Online Exam
- Updated on 01 Sep 2025
- 1 Minute to read
- Contributors
- Print
- DarkLight
- PDF
Article summary
Did you find this summary helpful?
Thank you for your feedback!
You can back up and restore online exams by following the steps below:
Step 1: Open the course where the online exam already exists.
Step 2: Back up the online exam
In that course, follow these steps to perform the backup procedure for the online exam:
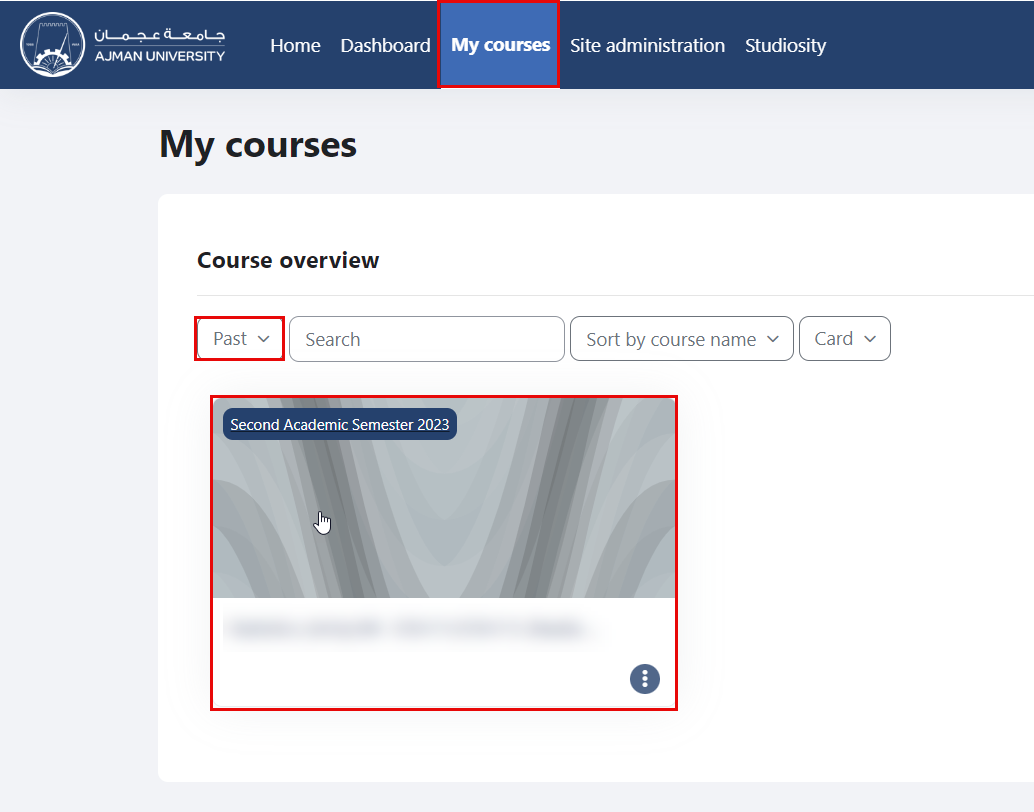
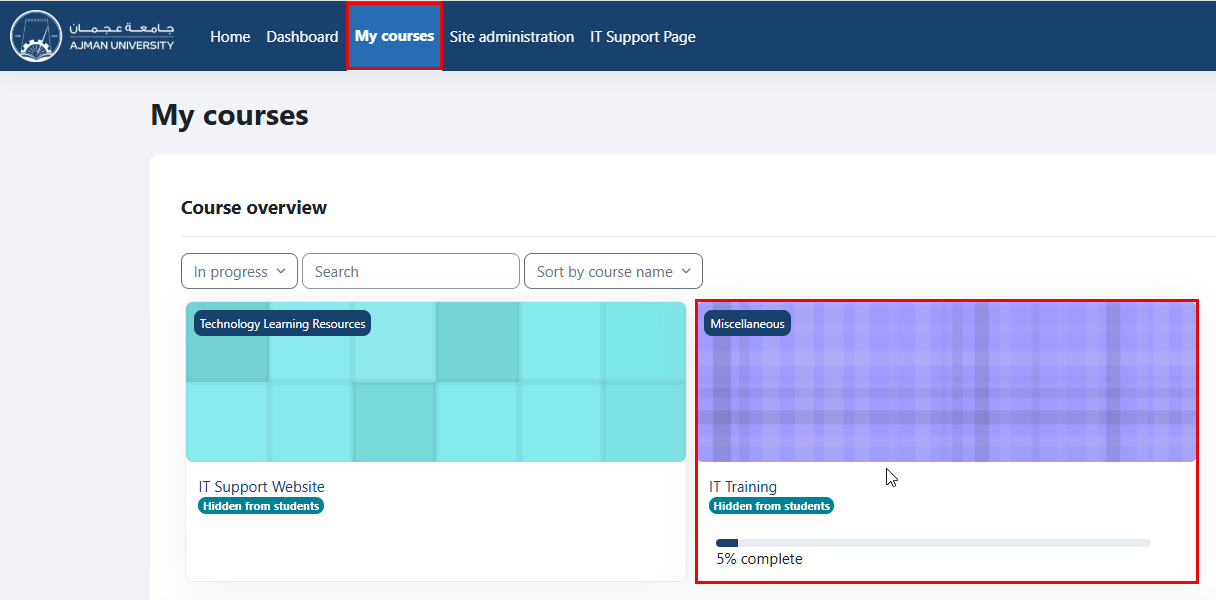
- On the Navigation Panel, click on “My Courses”, select "Past" courses from the drop-down menu, and then select the course you would like to back up.
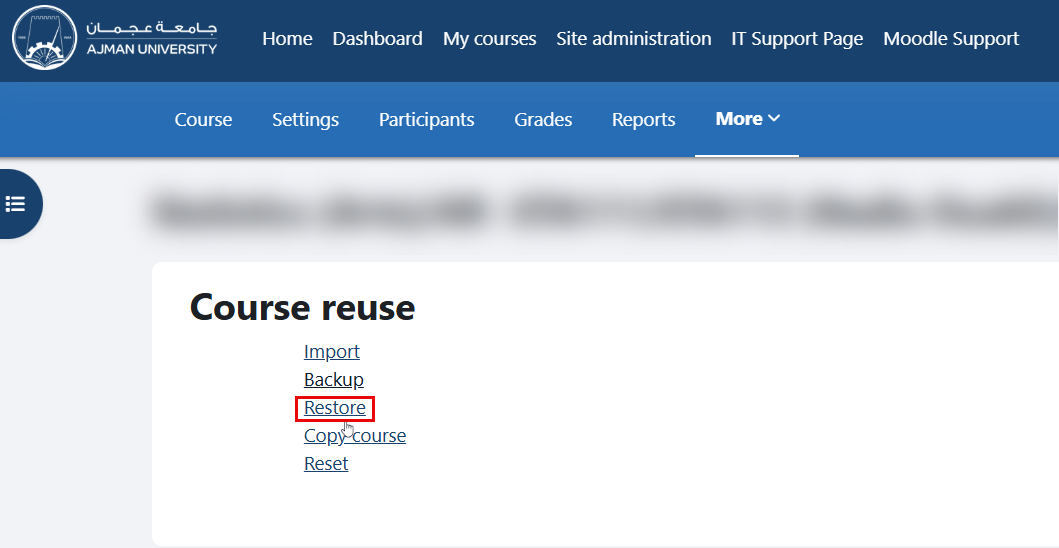
- Inside the course, navigate to the secondary menu, then click on the "Course reuse" option.
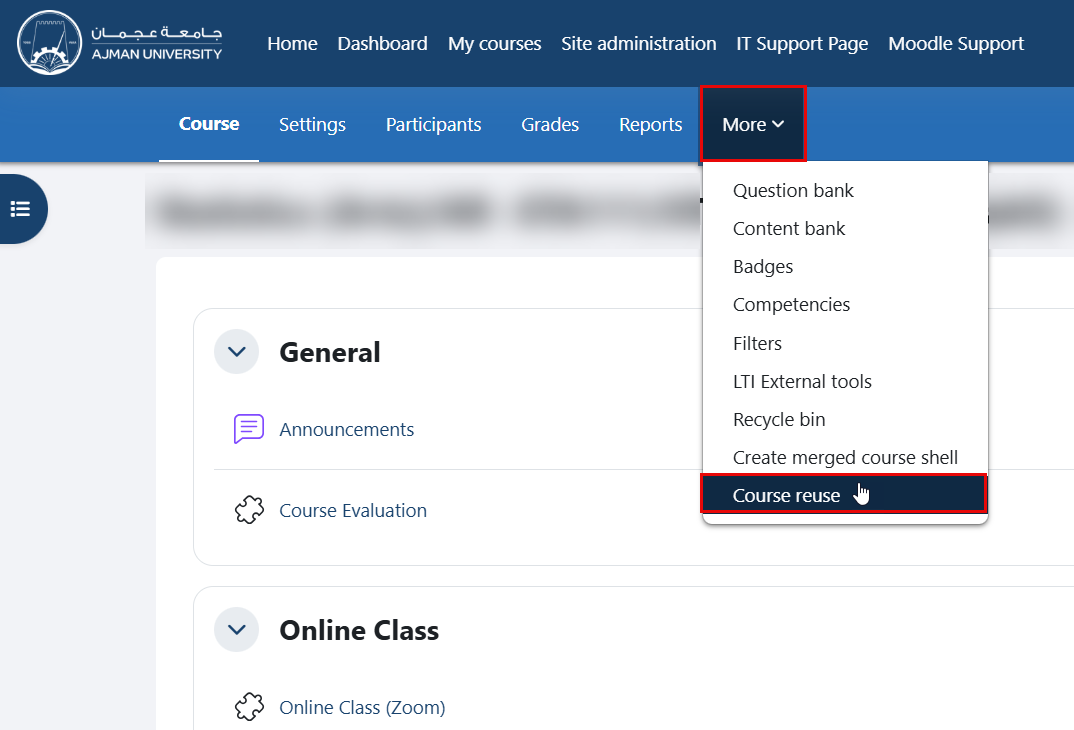
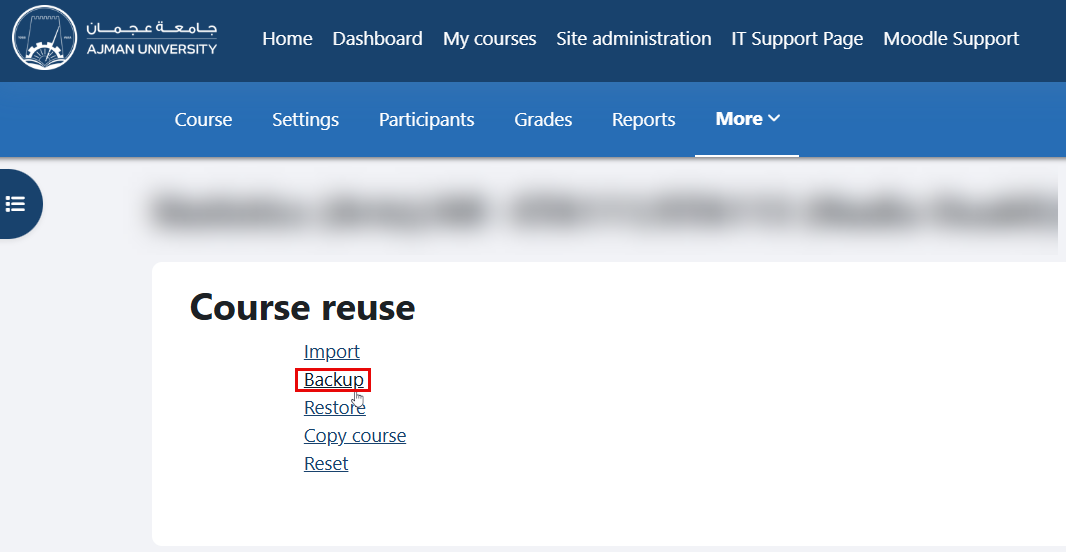
- From the drop-down menu, select the "Backup" option.
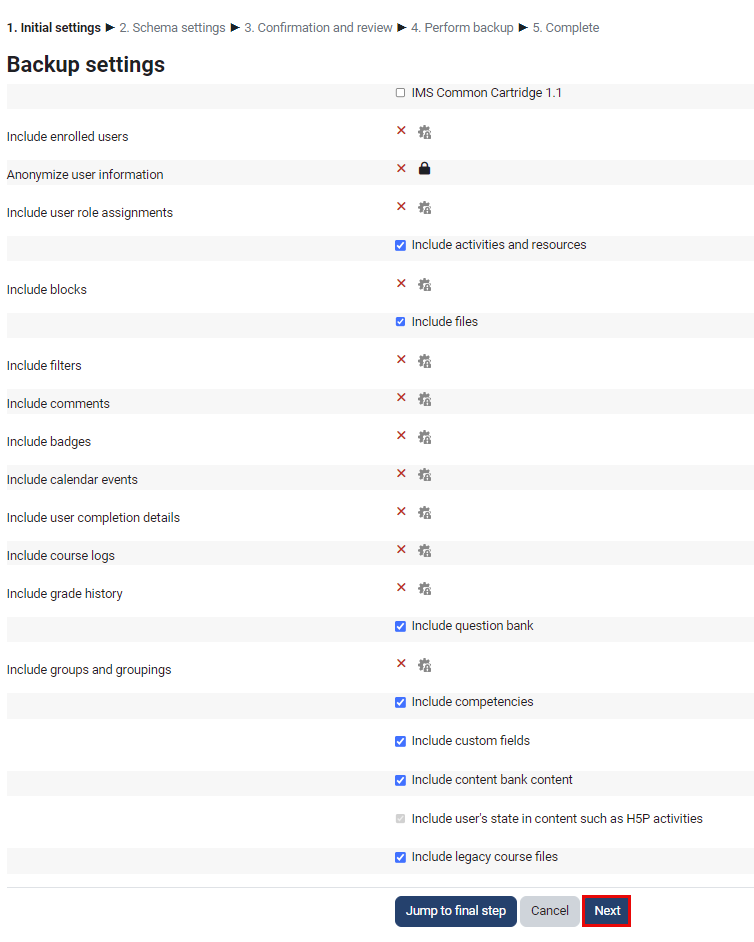
- Click Next.
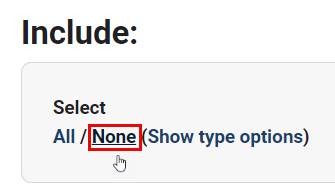
- Click None to deselect all activities and resources.
- Select the section where the online exam exists, then select the exam itself.
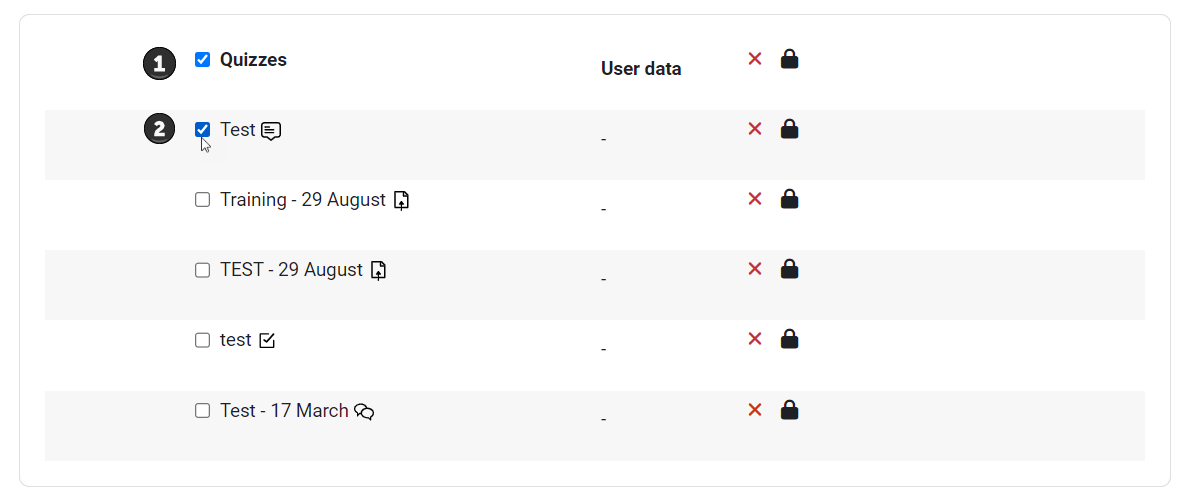
- Scroll down and click Next.

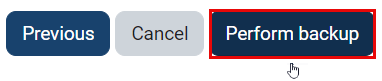
- Click Perform backup.
- Moodle will start the Backup process. You can track the progress of the backup and see the estimated time for completion.

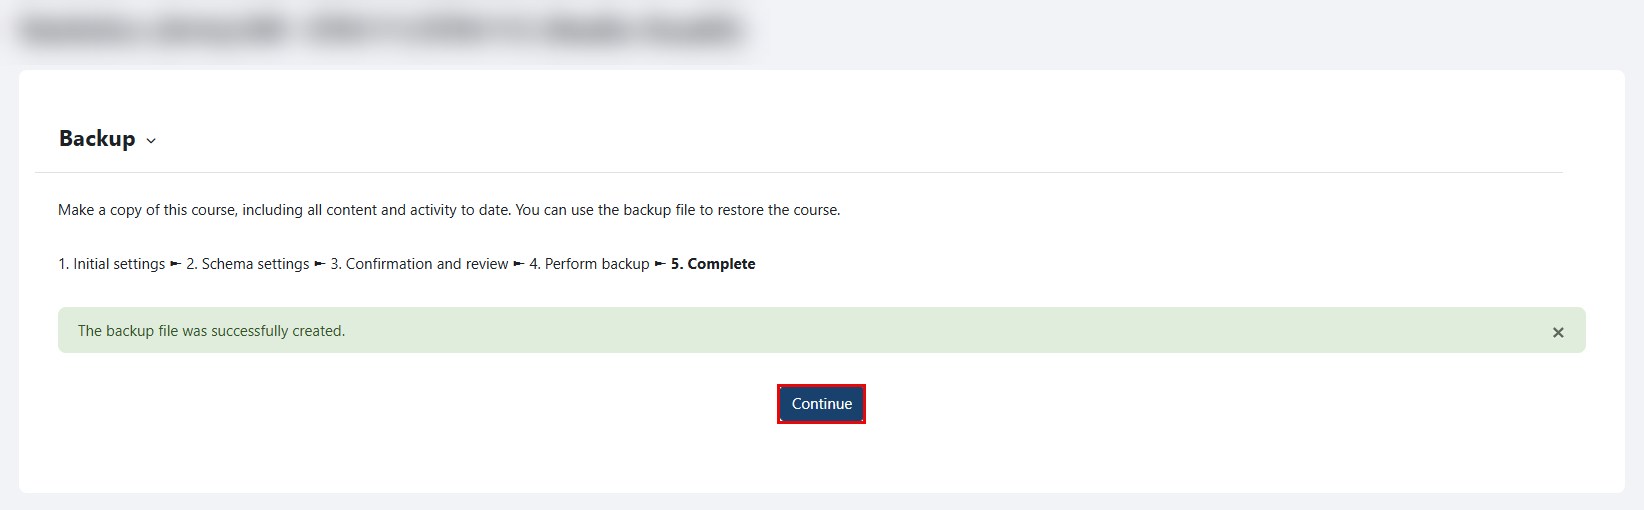
- A confirmation message will appear when the backup file is created. Click the "Continue" button.
Note:
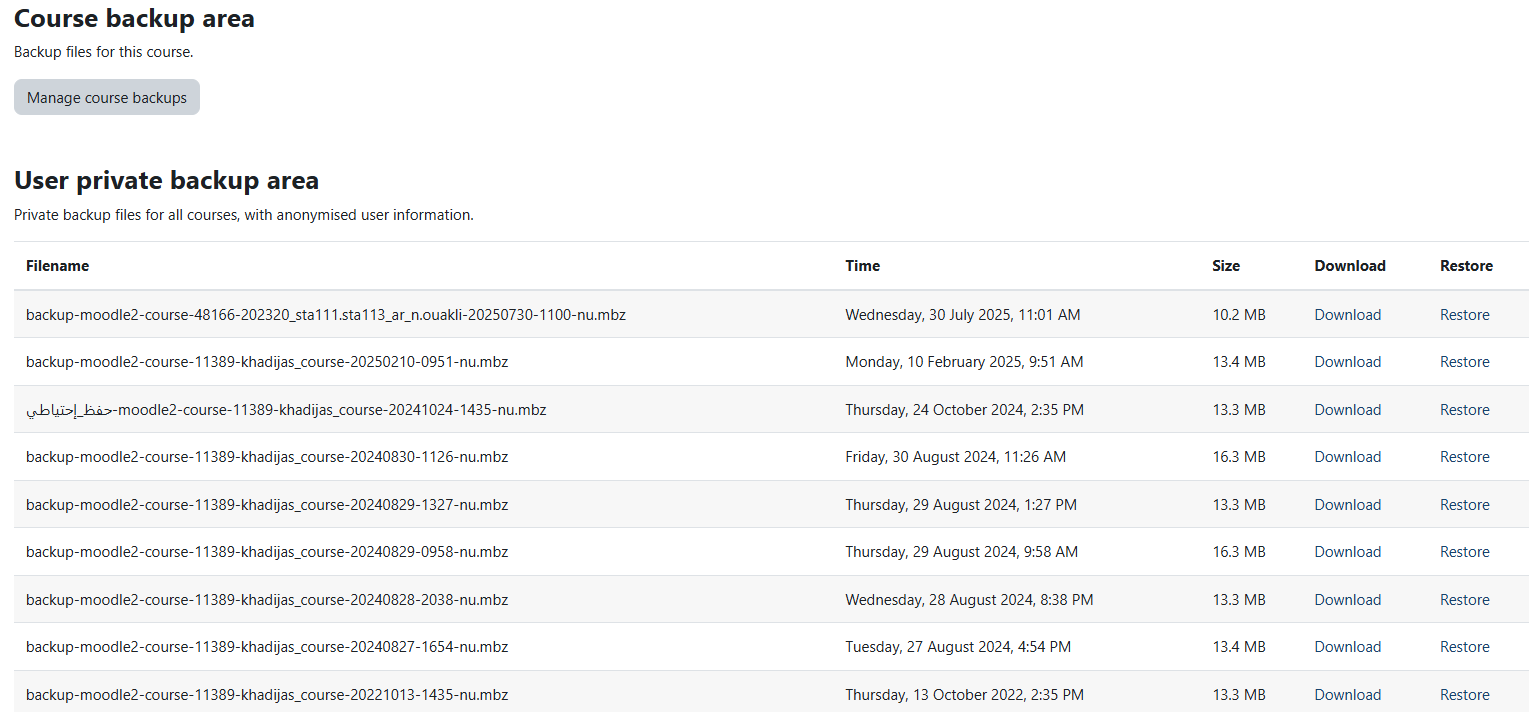
Once you complete the above steps, the page illustrated below will appear for you. Please ignore it as there’s nothing else needed from you to complete the course backup.
Step 3: Restore the online exam
- On the Navigation Panel, click on “My Courses”, then select "In Progress" courses from the drop-down menu, and choose the course to restore the exam in.
- Inside the course, navigate to the secondary menu, then click on the "Course reuse" option.
- From the drop-down menu, select the “Restore” option.
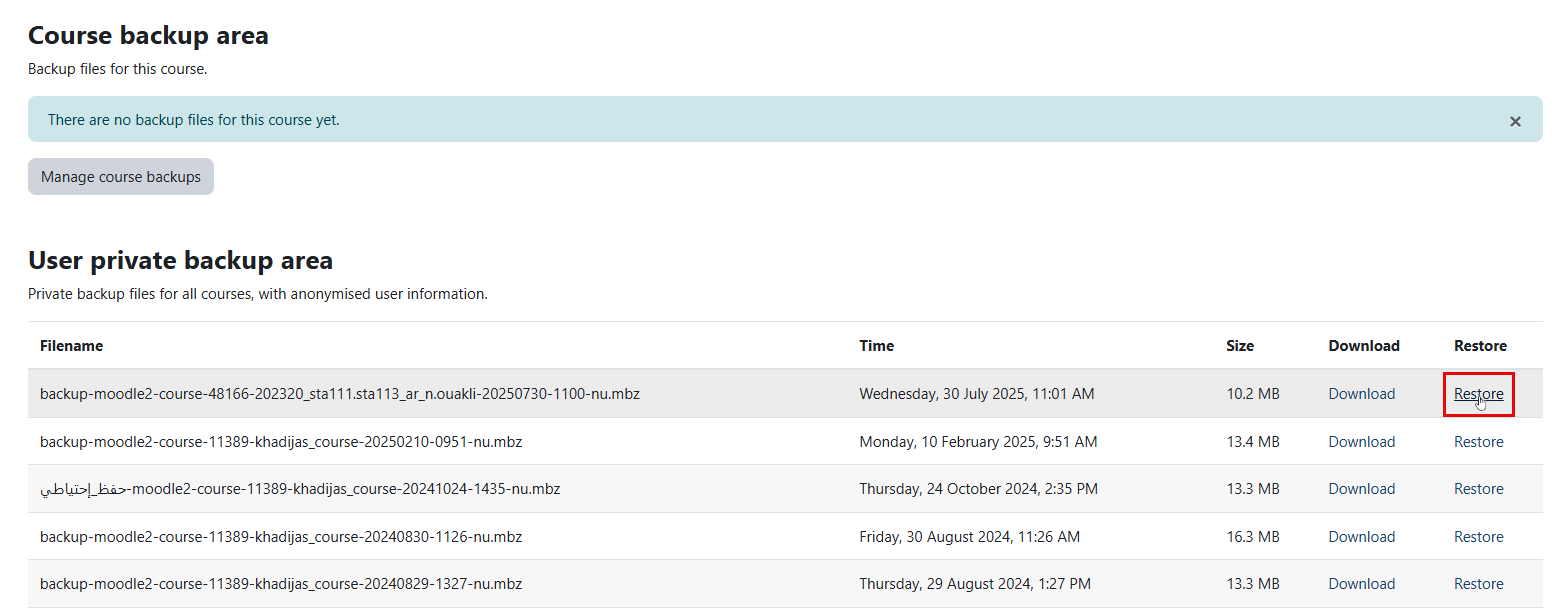
- Under the “User private backup area” section, locate the filename you would like to restore and click the Restore button. Note that the file name is based on the course name and semester.

- A page with all the details to be included will appear. Scroll down and click on the Continue button.
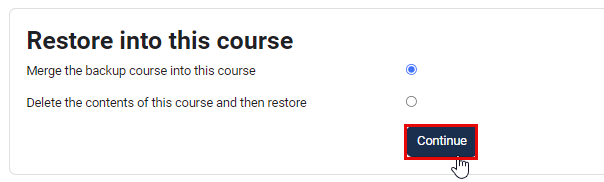
- Under the “Restore into This Course” section, make sure that “Merge the backup course into this course” is selected, and click Continue again.
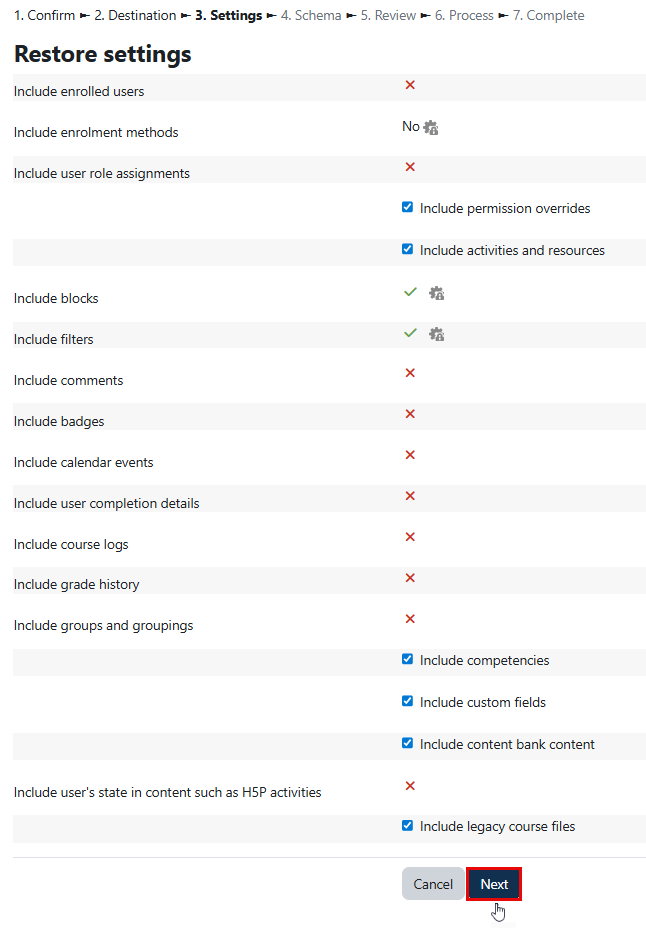
- In the “Restore Settings” page, click the Next button.
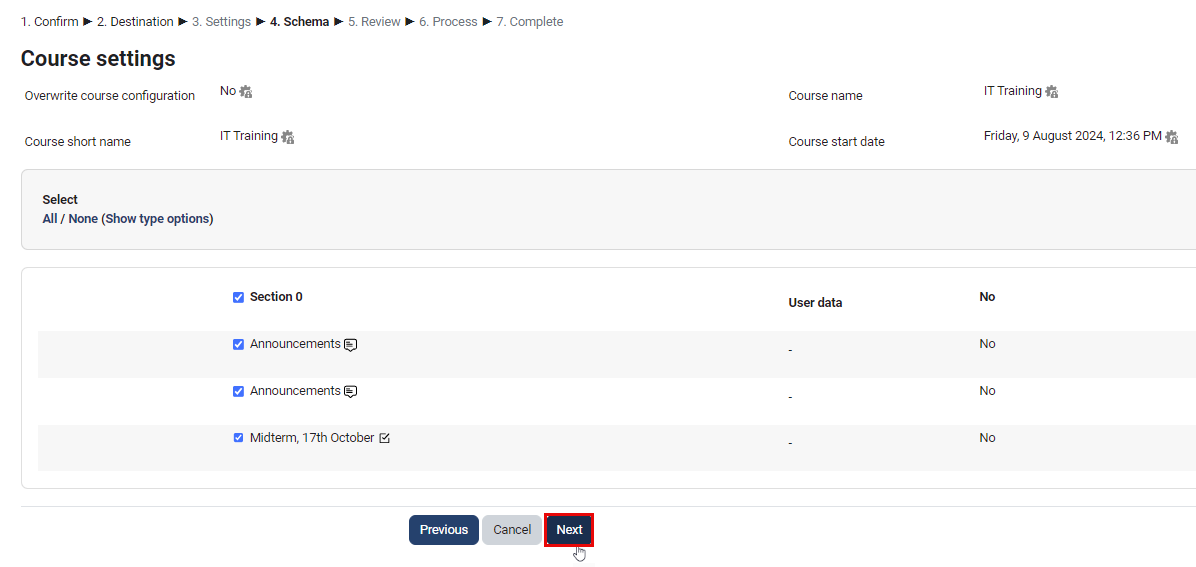
- Click Next again.
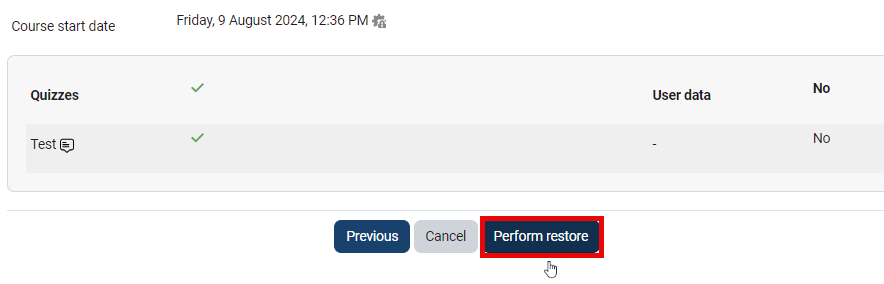
- Lastly, click the Perform Restore button.
Moodle will start the Restore process. You can track the progress of the restore and see the estimated time for completion.

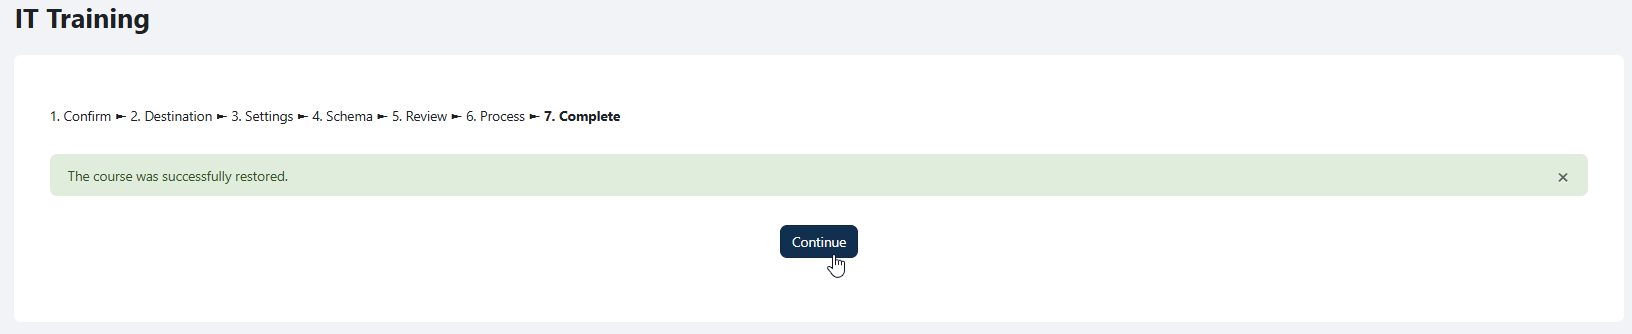
- Once the quiz is restored, you will receive the notification shown below. Click the Continue button.
 Note:
Note:After restoring the quiz, you can choose to hide it and update its dates and times as needed.
Was this article helpful?