Track and Process Requests
- 22 Sep 2021
- 2 Minutes to read
- Contributors

- Print
- DarkLight
- PDF
Track and Process Requests
- Updated on 22 Sep 2021
- 2 Minutes to read
- Contributors
- Print
- DarkLight
- PDF
Article summary
Did you find this summary helpful?
Thank you for your feedback!
Once you are assigned a ticket on the Ticketing System, you will receive an email from your office's email address with the ticket number and details for your action.
View the request
- Log in to the Ticketing System using your username and password.
- Click on the Ticketing System button in the top menu, then click on Tickets.

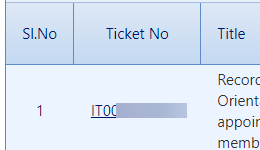
- You will be able to view the list of tickets that are assigned to you and still need your input or action. Click on the Ticket No to read the details of the request.
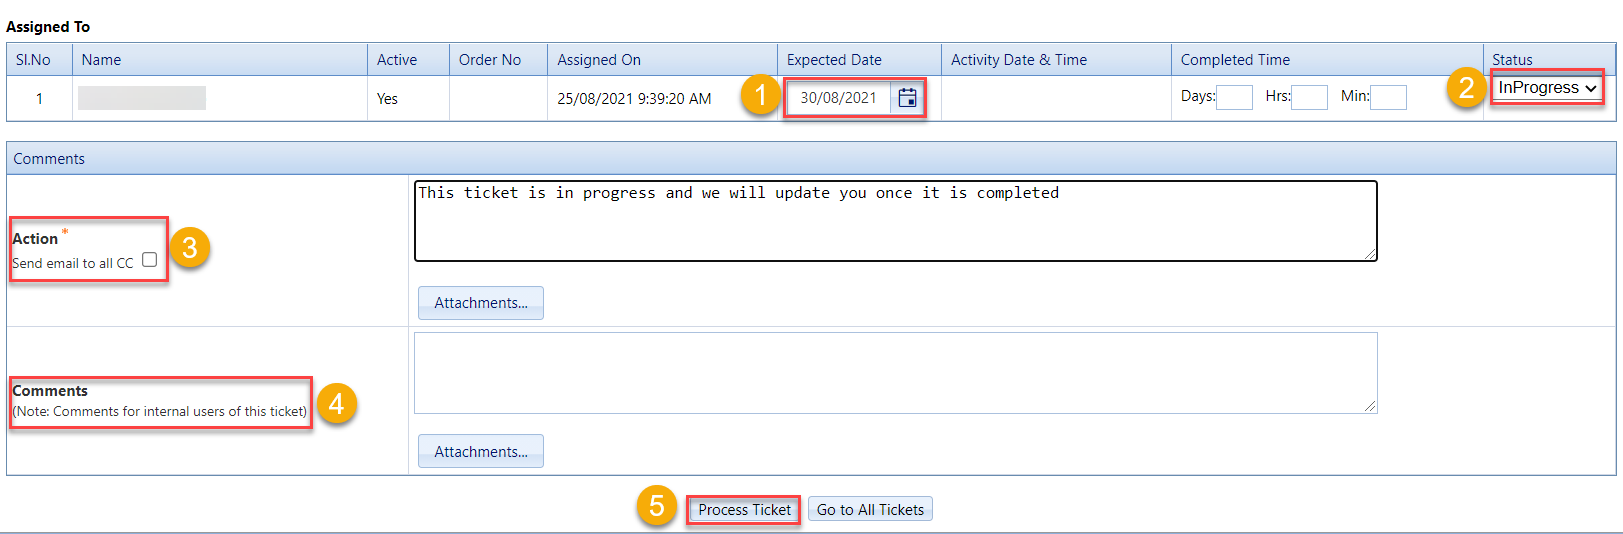
When you are first assigned the ticket
- Enter the Expected Date to complete the ticket.
- Change the Status from Pending to In Progress.Why should you change the status from Pending to In Progress?By performing this step, the requestor will receive an email and will be informed that his/her request is being looked into. Also, you may change the status to add details in the Action box, such as asking the requestor any questions and/or requesting further clarifications.
- Enter your comments in the Action box and upload any attachments for the requestor, if required. You can also notify those on the CC of the request.
- You may also enter Comments for the internal use.What is the difference between the Action and Comments boxes?The Action box is used to enter details and comments that are shared with the requestor (and those in the CC) by email and it is mandatory to be filled whenever you change the status of the ticket.
The Comments box is used for internal use only; meaning that this is for the comments shared between you and the ticketing coordinator and any other members who are assigned to the same ticket. This box is optional to be filled.Note:You can also add details to the Action box by replying to the email received from the ticketing system.
- Click on Process Ticket.
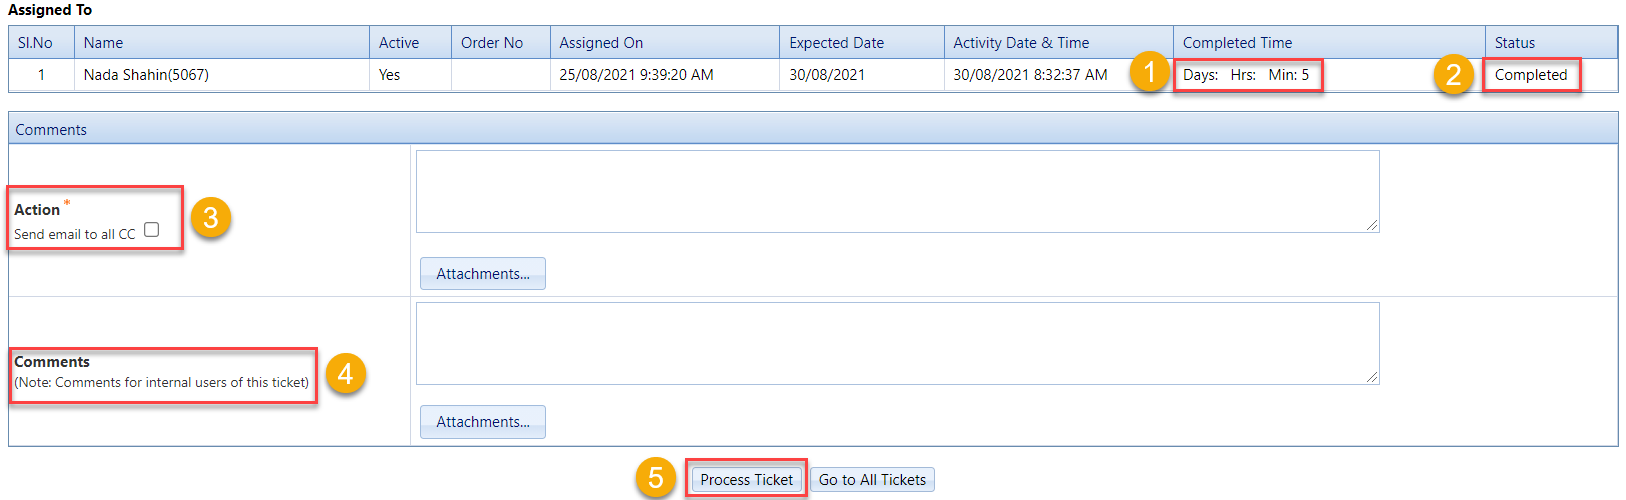
Complete the ticket
When you process the request, you should complete the ticket:
- Enter the Completed Time. This is an estimate of the duration you needed to process the request.
- If you have completed the action for the ticket, change the Status from In Progress to Completed. Otherwise, if the request is rejected, Change the Status from In Progress to Rejected.
- Enter your comments in the Action box and upload any attachments for the requestor, if required. You can also notify those on the CC of the request.
- You may also enter Comments for the internal use.What is the difference between the Action and Comments boxes?The Action box is used to enter details and comments that are shared with the requestor (and those in the CC) by email and it is mandatory to be filled whenever you change the status of the ticket.
The Comments box is used for internal use only; meaning that this is for the comments shared between you and the ticketing coordinator and any other members who are assigned to the same ticket. This box is optional to be filled.Notes:- You can still add your comments to the ticket after it is completed and until it is closed; the requestor will still receive these comments via email. Keeping in mind that the ticket will automatically be closed after 3 days of its completion.
- You can also add your comments to the ticket by replying to the email received from the ticketing system.
- Click on Process Ticket.
Was this article helpful?