The office/college must receive service items and non-stocked items in Dynamics 365. This process is exclusive to the Service Items purchase Requisitions and non-stocked items.
By following the steps provided in this article, you can efficiently receive services directly within the Dynamics 365.
To begin, log in and follow these steps:
-
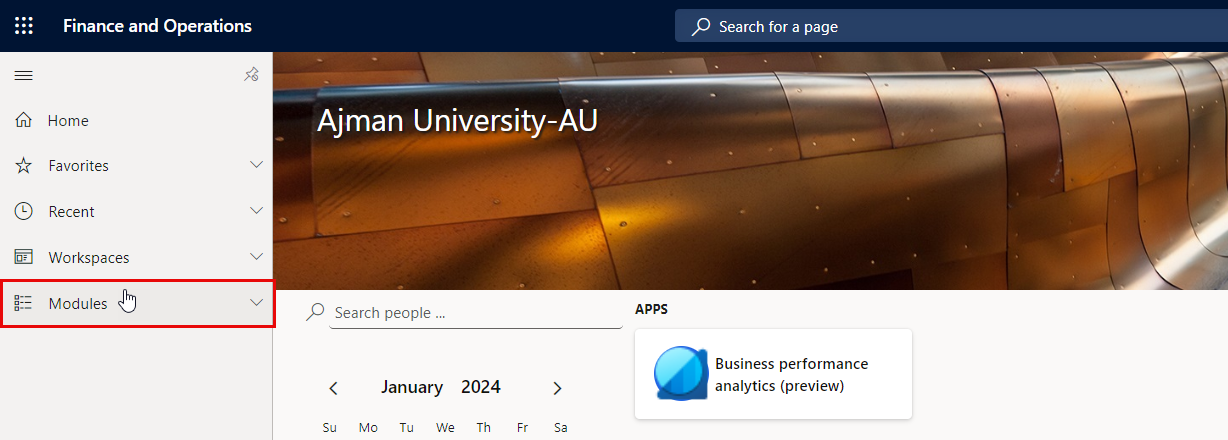
Once you have logged in, you will be on the Dynamics 365 home page. On the left-hand navigation pane, click on Modules.
-
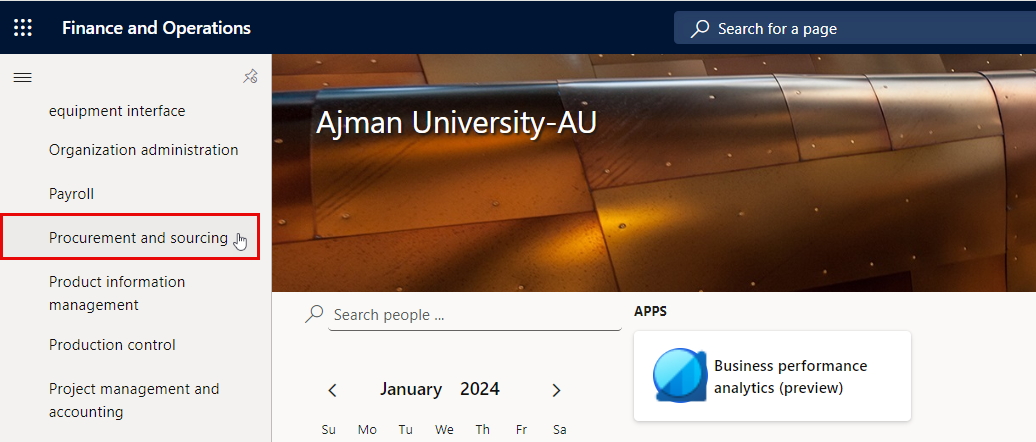
Navigate to and click on Procurement and Sourcing Module.
-
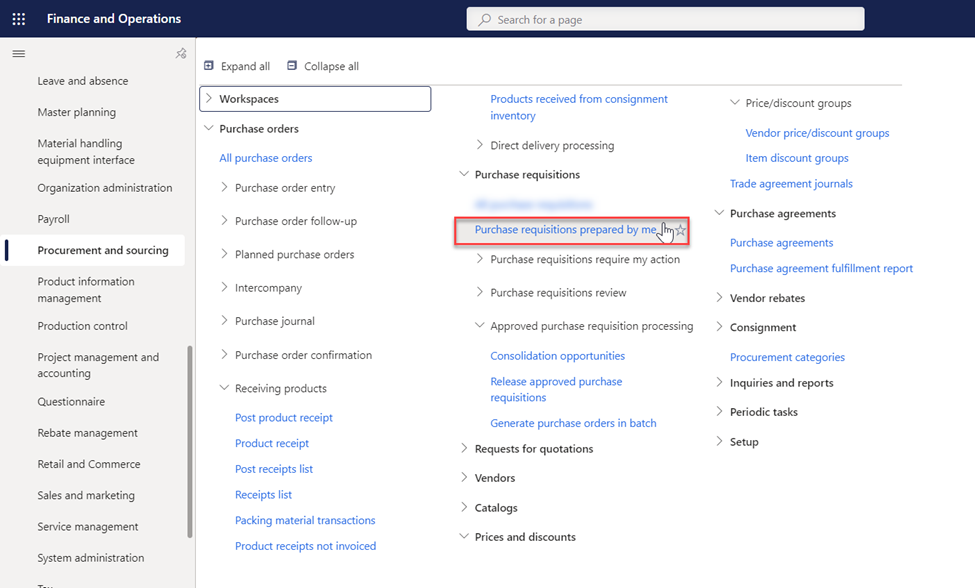
Click on “Purchase Requisitions prepared by me”.
-
In this module, locate the list of all existing purchase requisitions, and open the specific one you wish to track for its associated purchase order.
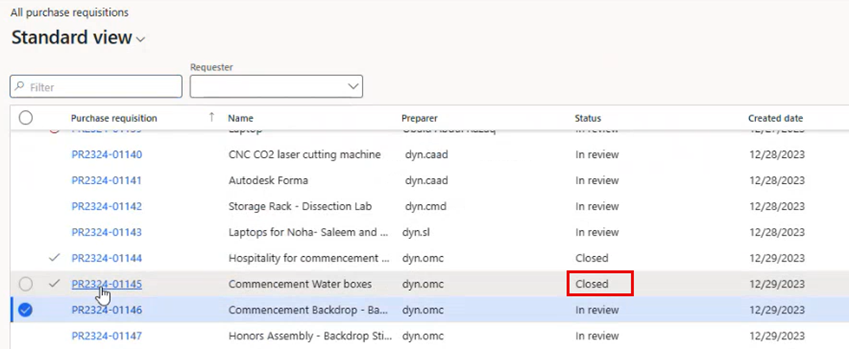
When the requisition is in "Closed" status, it indicates that the PR has been successfully converted into a purchase order. At this point, you can proceed to track and follow up on the purchase order.
-
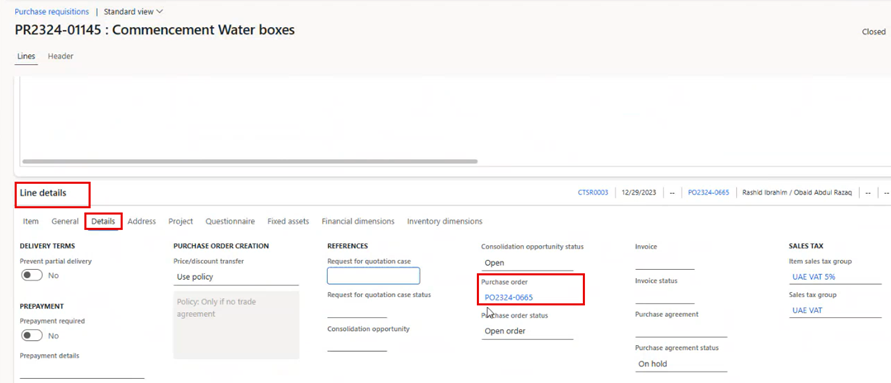
Navigate to Line Details > Details, and click on the purchase order number associated with the purchase requisition.
-
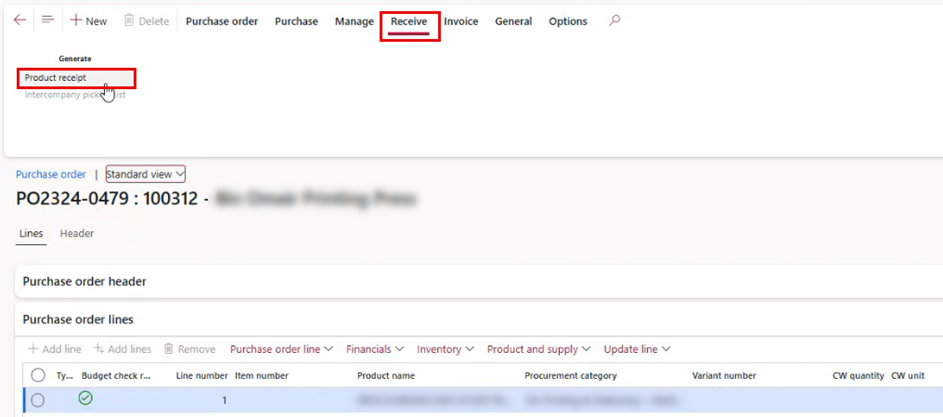
Navigate to the “Receive” tab, then click on “Product receipt”.
-
Enter the information related to the received service in the “Product Receipt” field. If the full quantity has been received, you may skip the next step. If only a partial quantity has been delivered, navigate to the “Lines” section, and update the Quantity accordingly. After all required details are updated, confirm the action by clicking “OK."
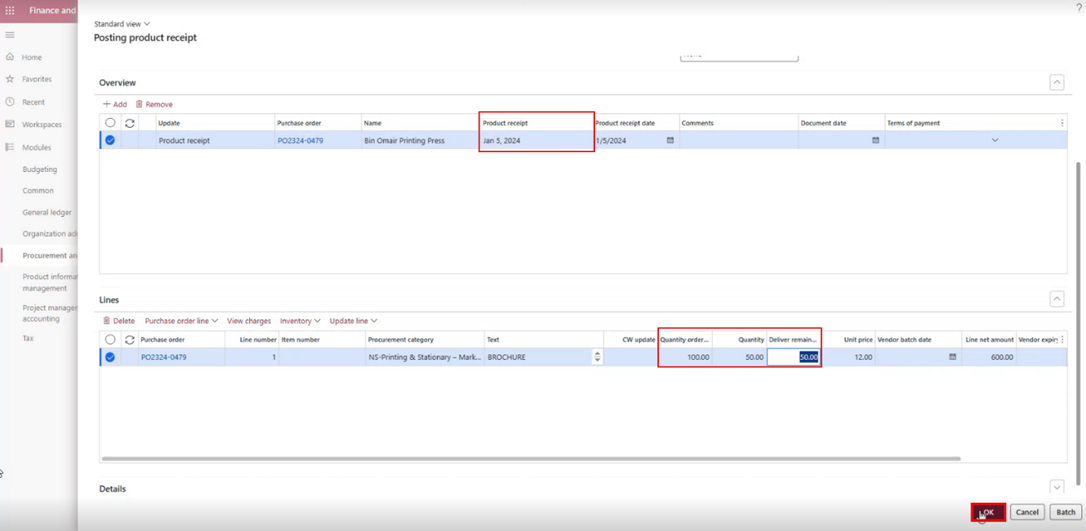
You may nter the information related to the received service in the “Product Receipt” field, such as the date of receipt, the vendor invoice number, or any other details that are relevant Information.