In this article, you will be able to control the webcam settings by following the steps below:
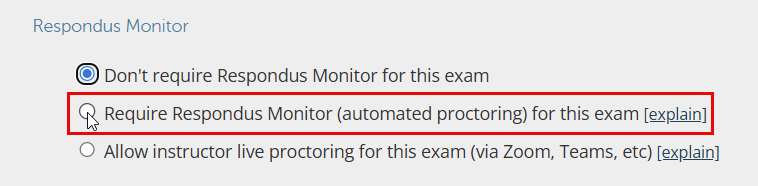
- In the Respondus Monitor Settings, click on the Require Respondus Monitor for this exam option.
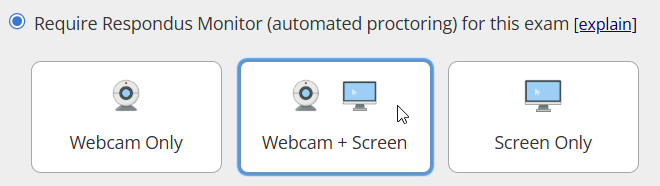
- Select whether you would like to record webcam only, webcam and screen, or screen only.
- You need to set the exam startup sequence as the following:
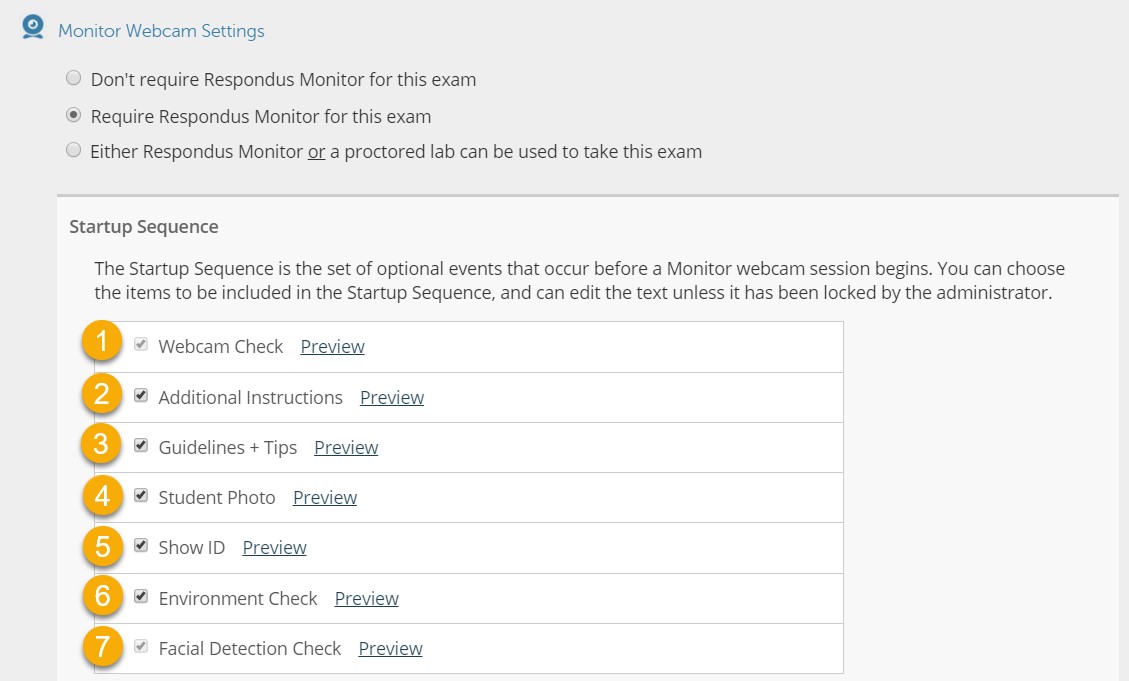
- Webcam Check: By default, the webcam of the student will be monitored.
- Additional Instructions: Enable this option to direct students to not access any resources or communicate with other people during the exam, etc.
- Guidelines + Tips: Enable this option to present students with tips to follow during the exam.
- Student photo: This option must be enabled, where the students will take a photo of themselves using the webcam.
- Show ID: This option must be enabled, where the students will take a photo of their ID using the webcam.
- Environment Check: Enable this option to have the students take a short video of their surroundings during the exam.
- Facial Detection Check: This is by default enabled to detect the facial features of the students during the exam.
- Facial Detection Options must be enabled.

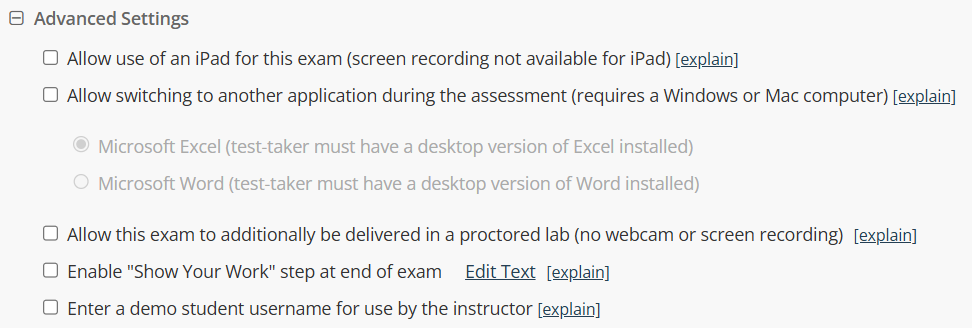
- In Advanced Settings, you can allow the use of an iPad during the exam. You’ll also find additional options, as illustrated below, such as permitting students to switch to another application during the exam. There is also an option titled ‘Enable “Show Your Work” Setup at End of Exam,’ which allows you to review students’ work, such as calculations. For each option, an associated article is available next to it for further information.
- You can enable the second camera option to require students to use an additional camera alongside their webcam to record a second view of the exam environment. This helps capture a wider or alternative angle of the exam area. Once enabled, students must use a second camera to take the exam.
 Post-Exam Review:
- Instructors can review up to three synchronized video recordings in the exam proctoring results.
- Front-facing webcam
- Second camera
- Screen recording
- Any video can be selected to play in the main viewing window.
Notes:- Students must use a second device capable of scanning QR codes (most iOS and Android devices are supported).
- No app installation is required on the second device.
- The second camera must be a separate device; a USB webcam connected to the same computer cannot be used.
- Device compatibility can be tested at: www.respondus.com/camera2
- Instructors can review up to three synchronized video recordings in the exam proctoring results.
- Click on the Save + Close button.
- You will be able to view the quiz test settings.
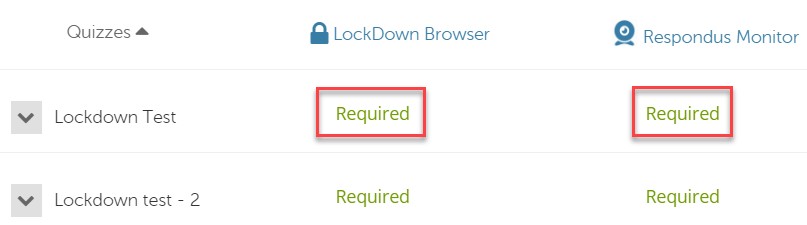
Note:
If there is an error in one of the columns above, click on Fix Now button and it will be fixed automatically. If that did not work, contact the HelpDesk on Helpdesk@ajman.ac.ae (with a screenshot of the error) or by calling 06-7056500.