After initiating the request, the request will follow a specific workflow based on the selected request type.
- Workflow users can see their pending requests as described previously.
- Users can approve, reject, and hold the requests.
- Once the allocated user approves the request, the request will continue to the next approval in the workflow.
To process requests, please follow the below steps:
- You will receive an email once you have any pending requests.
- In the e-Requests page, you will be able to see all requests along with their statuses, as illustrated below, and you should be able to identify the ones you want to process.

- Click on the request number to open the request.
- Read the details of the request, and once you decide on an action, click on your role.
 Note:
Note:Below is an explanation of the approval requirements, which is available in the Approval column:
- RQ: Approval is required in order to move to the next step in the request’s workflow.
- NR: It is optional to approve/process the request. As the workflow is not depending on the action of this user.
- RV: Review is required.
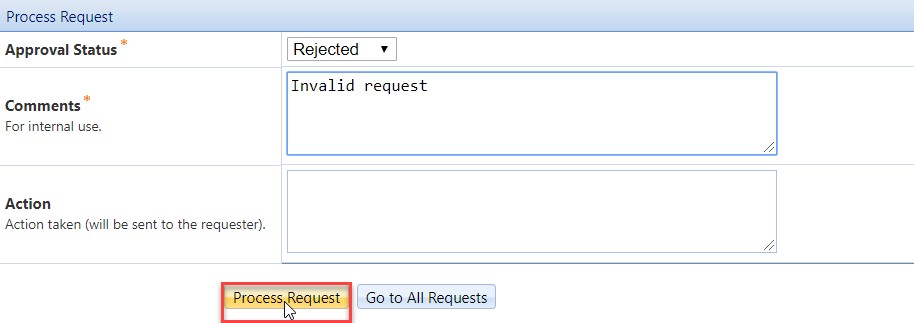
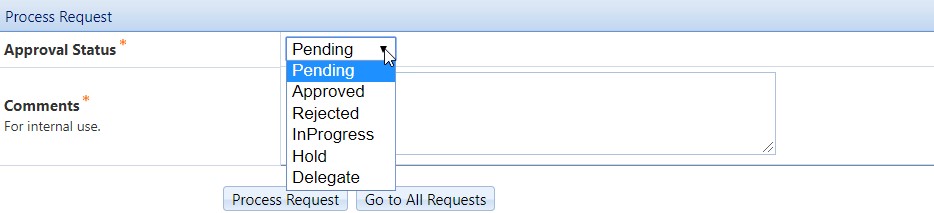
- Select the action you would like to take and enter comments, as illustrated below. Noting that the comments are for internal use only, which means that the requester (whether s/he is a student or staff/faculty) will not be able to see these comments. Plus, the action can be either:
- Pending: Once the request is initiation but no actions were taken;
- Approved: If you chose to approve the request and move it for the next person in the workflow. In this case you must enter comments;
- Rejected: If you chose to reject the request and not move it down the workflow. In this case you must enter comments;
- InProgress: If there are no issues or obsticales from the requester and the request is under progress. In this case you must enter comments;
- Hold: If there are issues or obsticals from the requester and s/he should clear them before processing the request (for example: financial issues). In this case you must enter comments. Plus, please fill in the action box with the reason of the hold.
- Delegate: If you would like to delegate the approval privilege to another employee at the university. In that case, either you or the delegated person can action the request. Plus, you must enter comments
 Note:
Note:Now you can view all communication details regarding the delegation in the Request Approval section. This includes:
- The role of the delegator.
- The name of the delegated person.
- The name of the delegator.
- Date & time of delegation and other actions.
- Internal comments.
- Action comments.
- Attachments.
- Status.

- Once you add all details, click on the Process Request button.