Watch our recorded webinar about this topic below:
The “Plan Ahead” option in Banner system is a new feature which enables you to plan your courses for the next term and to get feedback and approval from your academic advisor on the course plan which you have proposed, prior to the registration period.
Access the Plan Ahead feature
In order to access the Plan Ahead feature on Banner, please follow the below steps:
- Log in to Banner
- Click on the menu located on the left, then click on Banner.
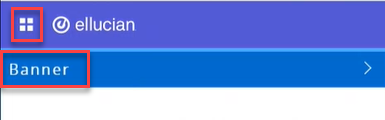
- Click on Student.
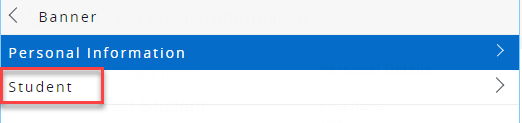
- Click on Student Profile.
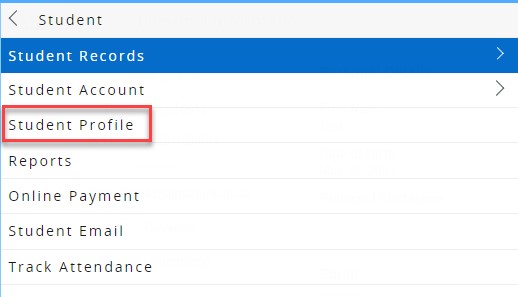
- On your student profile, click on Registration and Planning, which is located on the left side of the screen, as illustrated below. Once you click the button, a new page will open.
.png)
- On the new page, click on Plan Ahead.
.jpg)
Create a New Plan and Send it to your Advisor
In order to create a new plan for the next term, please follow the below steps:
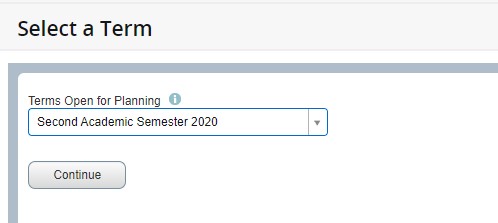
- Select a term that you would like to plan for and click Continue.
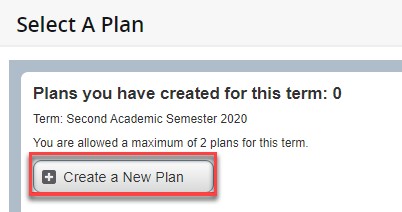
- Click on Create a New Plan.
- Click on the Projections section to view all courses that you are able to plan for next term.
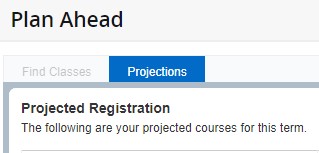
- In the Projections section, you will be able to view all courses which you should be taking in the next terms, until your graduation. In each row you will be able to view the Course Title, Details, Type (Mandatory or not) and there is an Add button for each course, as illustrated below.
.jpg) Plan Ahead Policy
Plan Ahead PolicyCourses under the below conditions will be listed in the Plan Ahead feature:
- Courses in the student’s study plan.
- Courses that are not completed.
- Courses that are offered in the next term.
Note:If there is a course that you would like to plan for but is not available in the list, follow the below steps:
- Check with your college whether this course be available in the next term?
- If they confirmed the availability of the course, check whether it is part of your study plan.
- Tip: You can access your study plan by following the below steps:Click on menu located on the left side of the webpage -> click on Banner -> Reports -> Study Plan.
- If both the above steps are confirmed, flag this issue to your advisor.
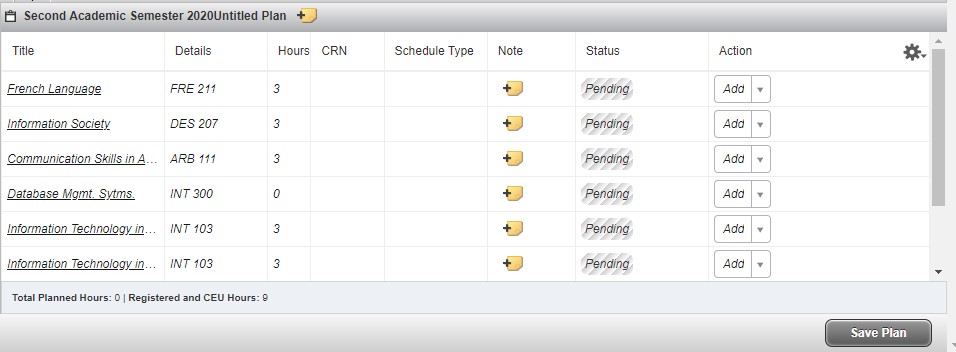
Once you add all courses, you will be able to view them, as illustrated below:
 In this section, you can do the following:
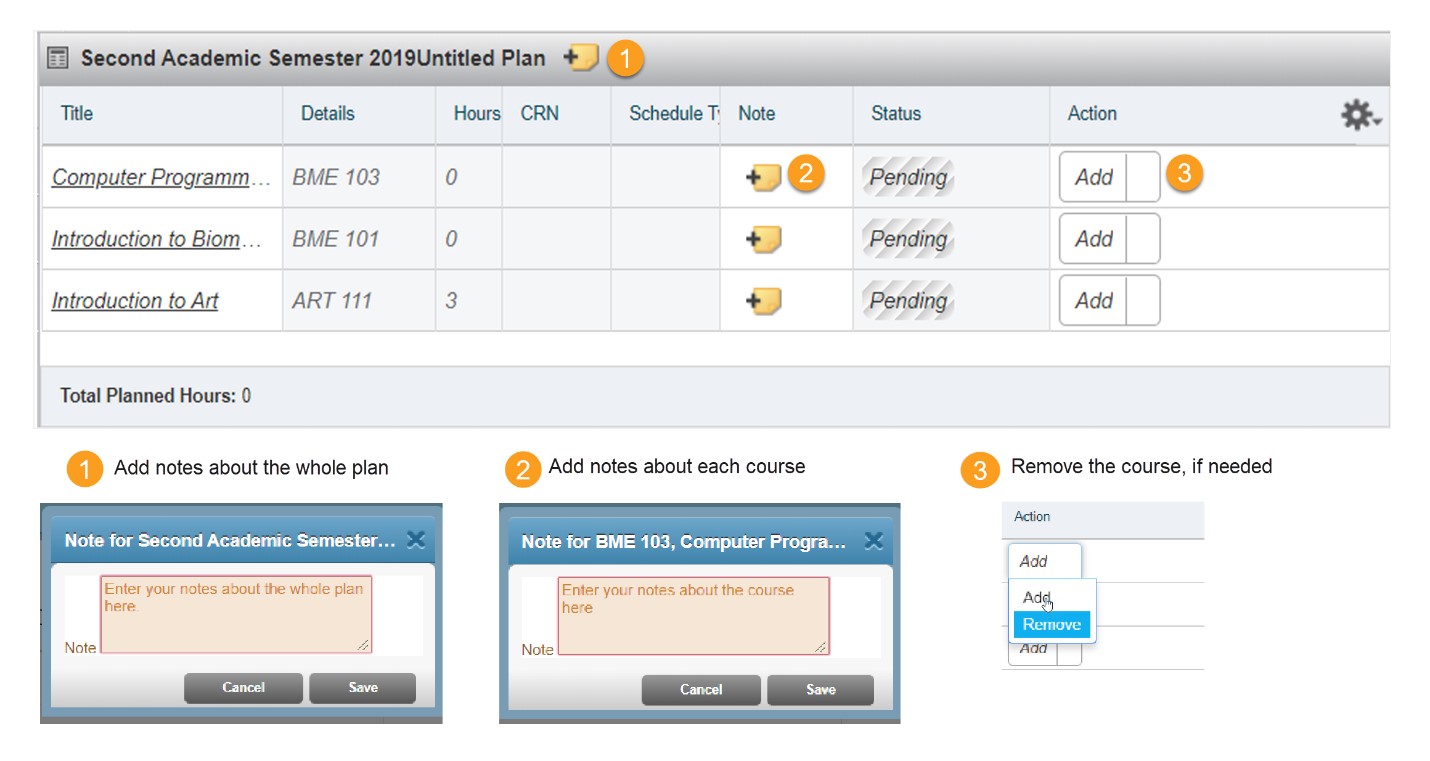
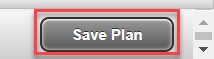
- Click on Save Plan, once you are done with editing this plan.
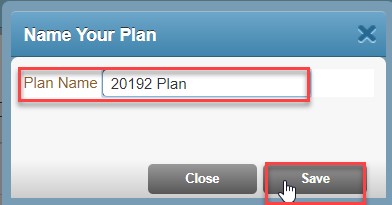
- Enter a Plan Name and click Save, in order to send the plan for your advisor’s feedback.
Once the plan is saved, your will receive the below message on the top right of the screen.
If you’d like to add another plan or view all your plans for a specific term, click on the Select A Plan button, as illustrated below:
View the Approved Plan
Once your advisor approves your plan, you will be notified through your AU email.
You can view the approved plan from the same location where you accessed the Plan Ahead (mentioned in the first section of this document).
The approved plan would appear for you as illustrated below:.jpg)
Please register the courses as shown in your approved plan during the registration period.