Watch our recorded webinar about this topic below:
Access an Online Class
- Make sure to download Zoom before your online class. Learn more about downloading and signing in to Zoom through the articles in the navigation on the left side of this webpage.
- Before starting the online class, you must log in to Zoom using your university email and password through the Single Sign On (SSO), noting that if you fail to do so, please contact the Helpdesk.
- All online classes will be recorded automatically.
- You can join an online class using laptop, PC, smartphone, and tablet including iOS and Android devices.
You can access the online class by following the below steps:
- Log in to Moodle using your student ID and password.
- Select the course from the Dashboard.
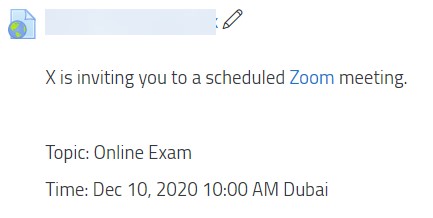
- Inside the course, find the Zoom button under Zoom topic and click on it (this will lead you to step 4), or look for an external link (this will lead you to step 5). These should look as the following:

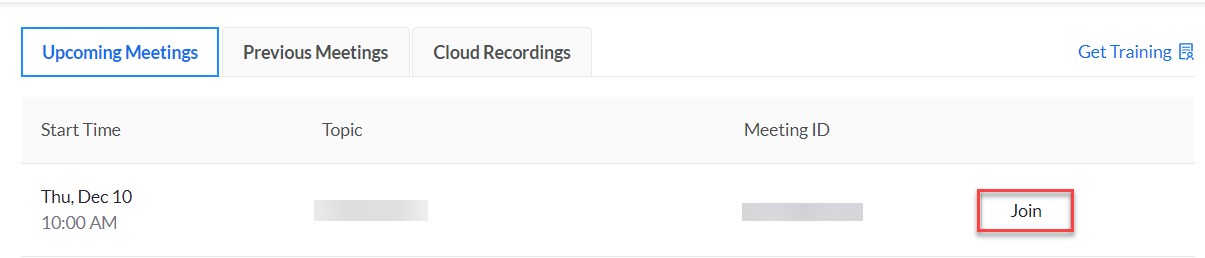
- Click on Join for the specific online class, as illustrated below:
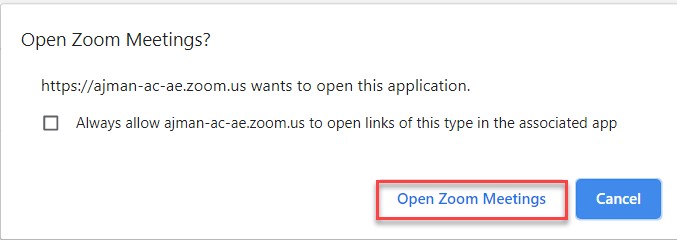
- Click on Open Zoom Meetings, as illustrated below:
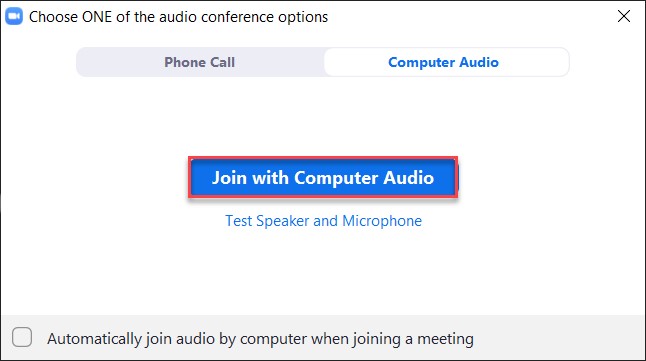
- Click on Join with Computer Audio, as illustrated below:
- Make sure that you adjust your microphone and camera through the two buttons illustrated below:
Online Class Features
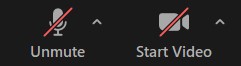
Mic & Audio
You can control your mic and video by muting/unmuting your mic and start/stop your video through the illustrated buttons:
Chat
Inside the online class, you can chat with the instructor and students by clicking on Chat button which is available at the bottom of the screen, as illustrated below:
Note that you can chat with everyone in the online class or with a specific person. You can control this as illustrated below: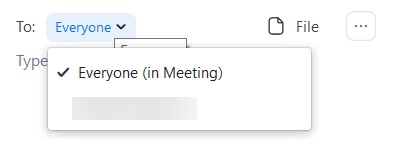
Share Screen
If the instructor allows you to share your screen, you will be able to share screen by clicking on Share Screen button which is available at the bottom of the screen, as illustrated below. Noting that this option must be enabled by the instructor.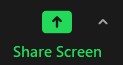
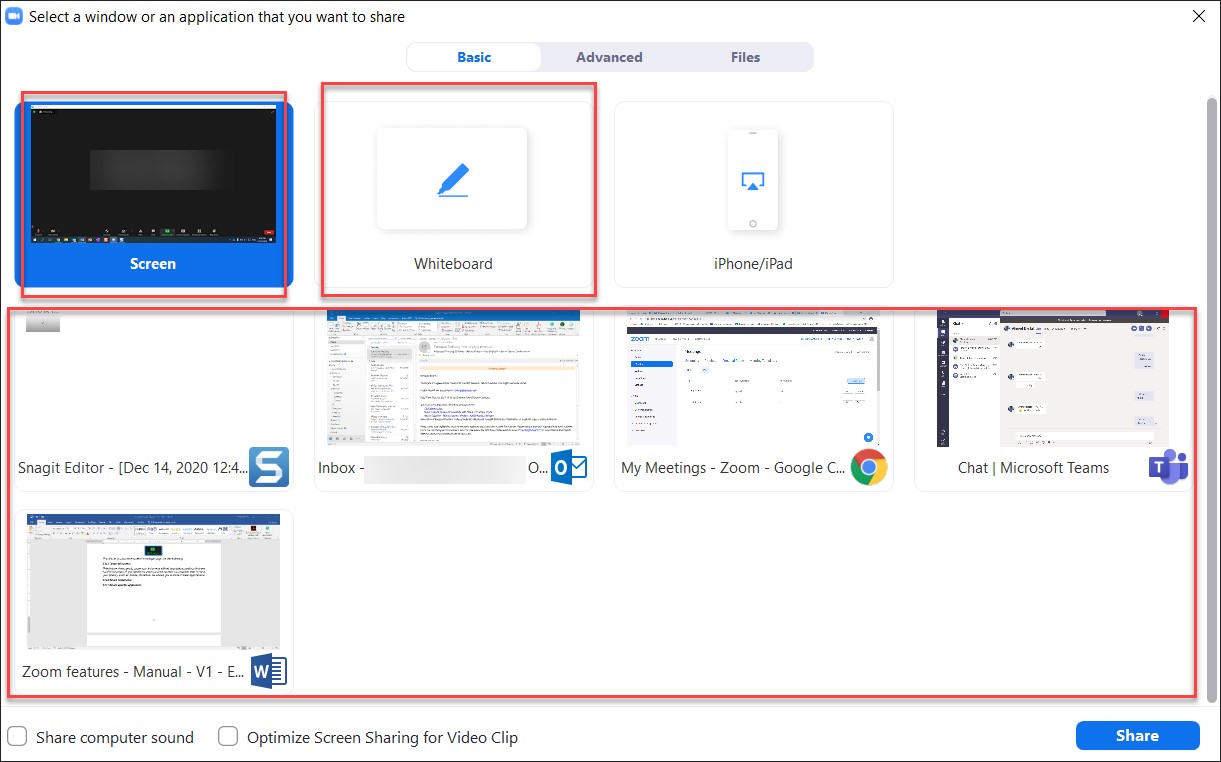
Share full screen
This feature allows you to share your full screen with all applications and notifications visible on screen. If you decide to share your full screen, you need to bear in mind your privacy, such as emails; therefore, we advise you to close private applications.
Share whiteboard
You can share a whiteboard with your participants, which can be used the same way as a physical whiteboard; you can write, draw, type and erase using this feature.
Share specific application
If you would like to share one specific application without sharing the full screen, as described for "Share full screen" section, then you can select this option.
