Common Zoom App Features
This section illustrates the main features available in the Zoom desktop application, which appear after logging in to Zoom.
Home
The Home section appears once you open the Zoom app and it allows you to:
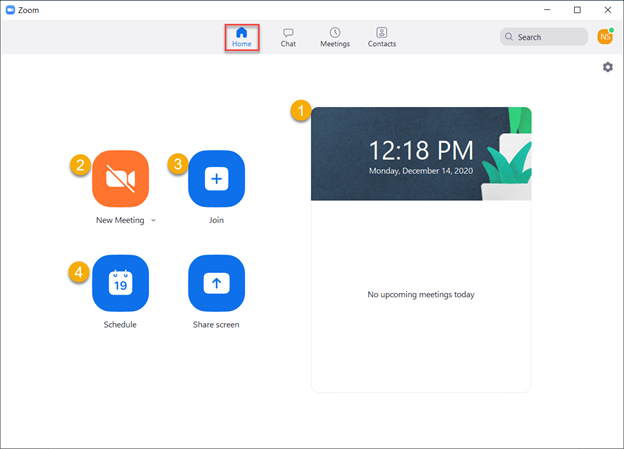
- View your upcoming meetings for the day.
- Start ameeting. You will be able to invite others once you are in the virtual meeting room.
- Join a meeting by entering the meeting ID and passcode, if applicable.
- Schedule a meeting, noting that for scheduling online classes, AU faculty members are advised to refer to its dedicated manual. Additionally, please note that you can schedule a meeting using Outlook Calendar, for more details please refer to this article.
Chat
You may access the chat section by clicking on Chat in the navigator, as illustrated below:
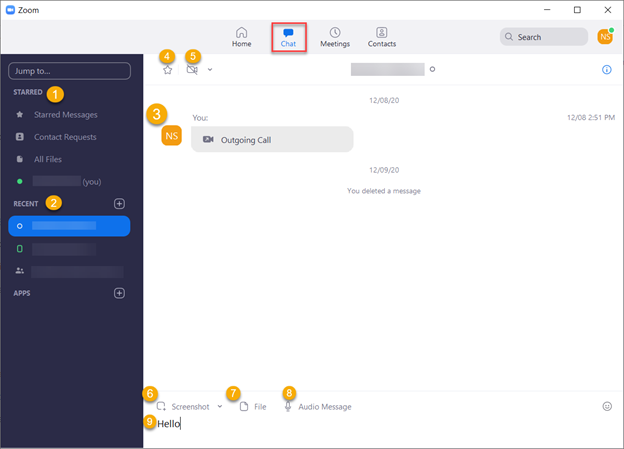
- The Starred section which includes starred messages (important messages), contact requests, shared files through Zoom, and a personal space for drafting your ideas and notes.
- The Recent section which includes your most recent chats.
- Once you open any of the contactschat, you will be able to perform steps 4 to 9.
- Star their chat to add it to the starred messages mentioned in the first point.
- Meet virtually with/out video.
- Take a screenshot and send it.
- Share files.
- Send an audio message.
- Send a text message.
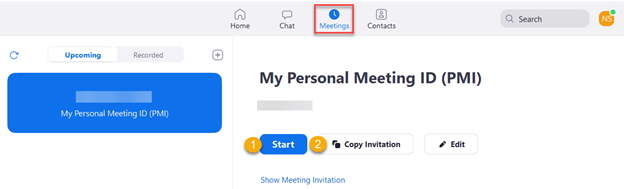
Personal Meeting Room
This is available under Meetings sections, which is available in the navigator. For this feature you can:
- Start a meeting.
- Copy invitation, so you can paste it elsewhere.
Recordings
You can access all the meetings recordings which you have scheduled from the Meetings section.
Zoom Virtual Room Features
All Zoom calls take place in Zoom Virtual Rooms, which has the following features:
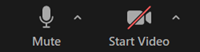
Mic & Video
You can control your mic and video by muting/unmuting your mic and start/stop your video through the illustrated buttons:
Participants
You can view the participants by clicking on the below button which is available at the bottom of the screen. Once you click it and based on the settings, you will be able to control your participants as the following: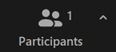
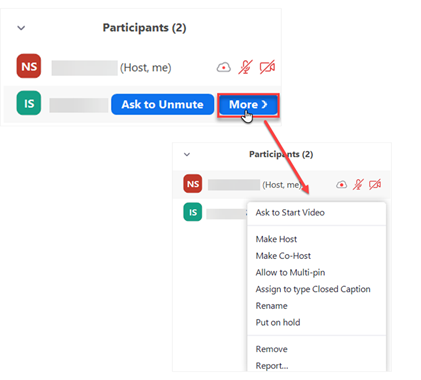
- Ask to unmute/mute themselves
- Ask to start/stop their video
- Make them as host or co-host. You are advised to use this option for the Teaching Assistants only.
Below is a screenshot of the interface while viewing the participants:
Inviting participants
You can invite participants to join by clicking on arrow next to the Participants button, then on Invite.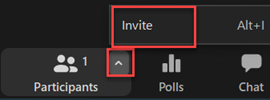
Then type/select the ones you would like to invite and click on invite, as illustrated below, or click on Copy Invite Link and paste wherever you would like to share the invitation link with the invitees. 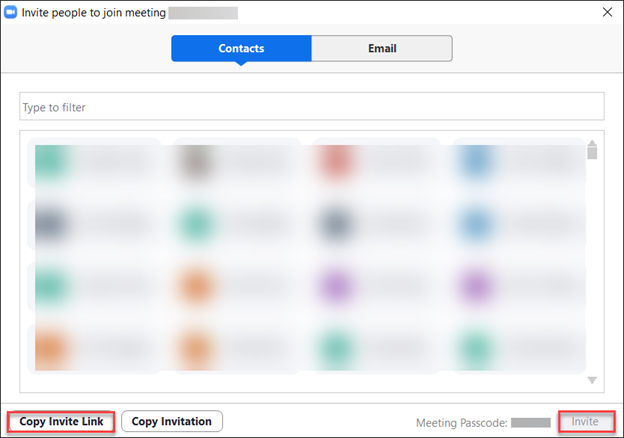
Poll
The host can start polls with the participants as a way to improve interaction between the speaker and participants. To do that, you can either create the questions and answers in advance or during the meeting.
Creating polls in advance
To create questions and answers for the polls before the meeting, please follow the below steps:
- Sign in to your Zoom account using Single Sign On (SSO). You can learn more about this through this article.
- Click on Meetings.
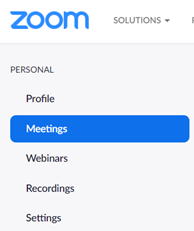
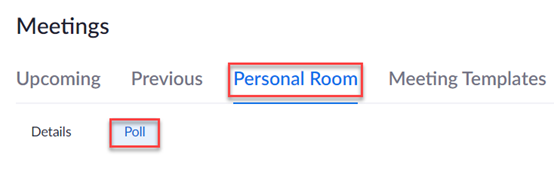
- Navigate to your Personal Room and then click on Poll.
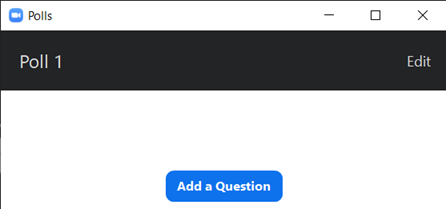
- Click on Add Poll.
- Add all questions and answers and determine which to be anonymized, if needed.

Creating polls during the meeting
To create a poll during the meeting, please follow the below steps:
- Click on Polls button which is available at the bottom of the screen.

- Click on Add question.
- Follow the third and fourth steps in the previous section.
Sharing polls with the participants
Once you add your polls, you can share them with the participants anytime during the meeting. To do that, please follow the below steps:
- Click on Polls button which is available at the bottom of the screen.
- Choose the question you would like to share.
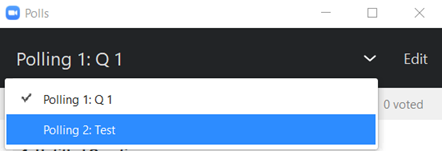
- Click on Launch Polling to share it with the participants.
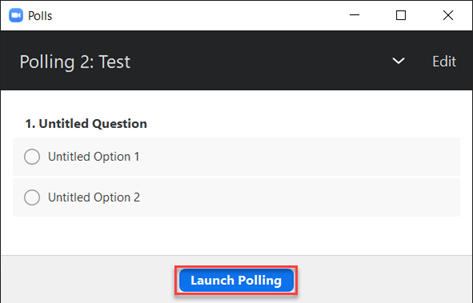
- Once you share the poll, you can track the voting, end the poll, share the results and re-launch it.
Chat
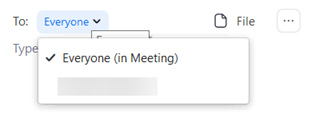
You can chat with the participants by clicking on Chat button which is available at the bottom of the screen.

Note that you can chat with everyone in the meeting or with a specific person. You can control this as illustrated below:
 Share Screen
You can share screen with others by clicking on Share Screen button which is available at the bottom of the screen.

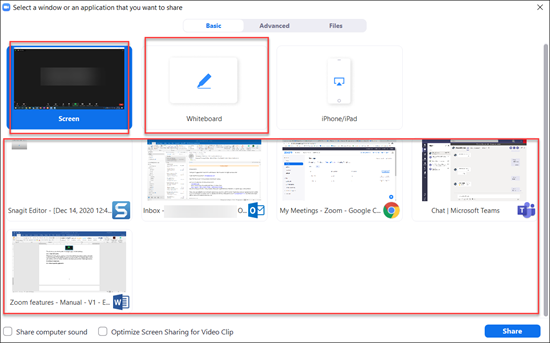

This allows you to share screen in multiple ways, as the following:
Share full screen
This feature allows you to share your full screen with all applications and notifications visible on screen. If you decide to share your full screen, you need to bear in mind your privacy, such as emails; therefore, we advise you to close private applications.
Share whiteboard
You can share a whiteboard with your participants, which can be used the same way as a physical whiteboard; you can write, draw, type and erase using this feature.
Share specific application
If you would like to share one specific application without sharing the full screen, as described in Share full screen part, then you can select this option.
Reactions
You and the participants can use the Reactions option to share your reaction with everyone during the meeting.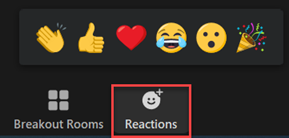
Breakout Rooms
Breakout Rooms is a feature that allows you divide the participants into multiple virtual rooms where they will be able to share audio, video, files, screen, and whiteboard with the participants inside the same breakout room similar to any other virtual rooms.
To enable this feature, please follow the below steps:
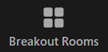
- Click on Breakout Room button which is available at the bottom of the screen.
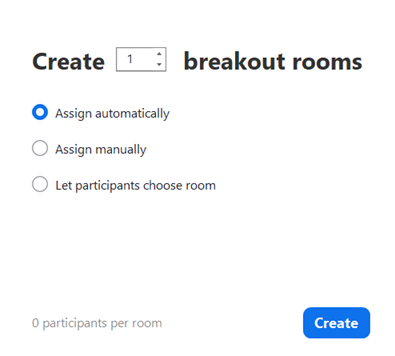
- Specify the number of rooms to be created and choose the suitable options, as illustrated below, then click on Create.
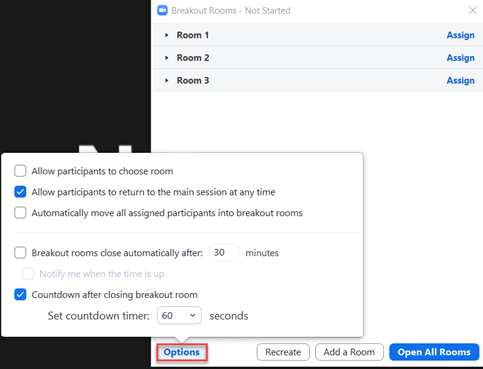
- Click on options to set your preferences.
- While breakout rooms are running, you can broadcast a typed message to all rooms.
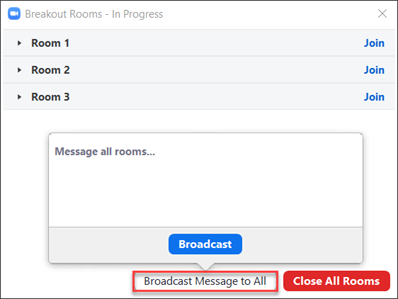
- Click on Close All Rooms to end the breakout rooms and return all participants to the main virtual room.
Security Settings
Through the security settings you can lock the meeting and control the participants’ allowed features.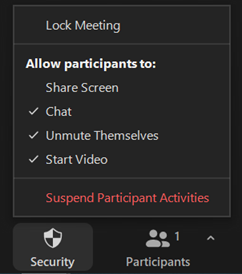
End/Leave Meetings
When the session is over, click on End (in the red box) and then click on End meeting for all to end the session for the participants too.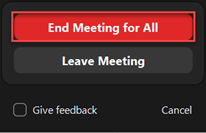
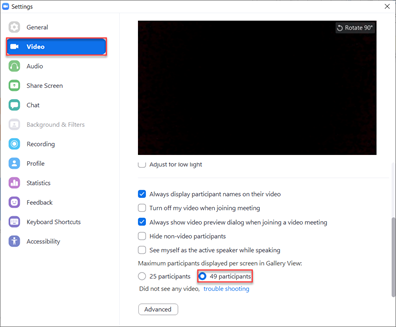
View Types
You can view up to 25 participants at the same time using the Gallery View and you can view the speaker only using the Speaker View. To control this, click on View which is located on the top-right side of the screen.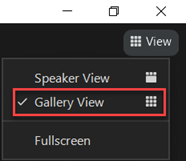
You can maximize the gallery view to display up to 49 participants by following the below steps:
- In the Zoom App, click on the gear icon, which is located on the top-right under the Home section.
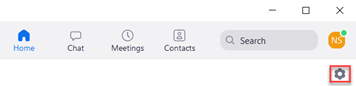
- Click on Video, and then under Maximized participants displayed per screen in Gallery View, click on 49 participants.