Restrict Access Based on Student ID
- 05 Jul 2021
- 1 Minute to read
- Contributors

- Print
- DarkLight
- PDF
Restrict Access Based on Student ID
- Updated on 05 Jul 2021
- 1 Minute to read
- Contributors
- Print
- DarkLight
- PDF
Article Summary
Share feedback
Thanks for sharing your feedback!
Restrict Access is a feature that is used to allow specific students enrolled to view and access activity/resource (such as an online exam) in a Moodle course.
Restricting access for an activity/resource while uploading/creating it
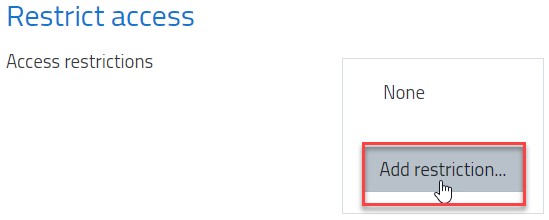
While uploading the activity/resource, in the options, go to the Restrict access section and follow the below steps:
- Click on the Add Restriction button.
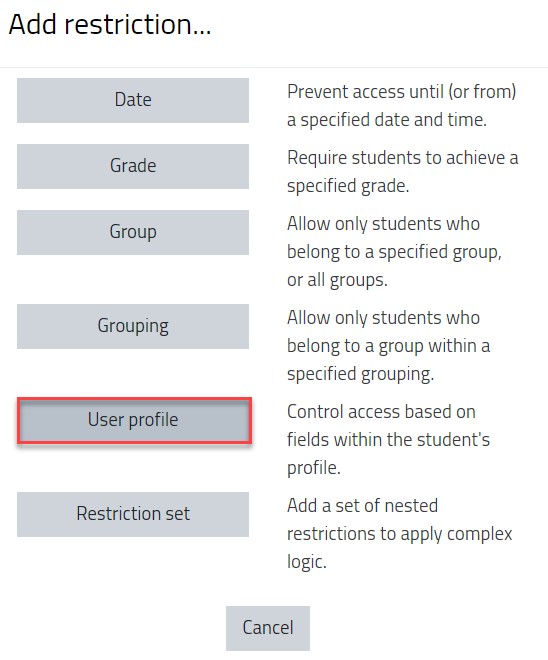
- Choose User profile from the list to give access based on the student ID.
- Choose the ID number and enter the student’s ID.
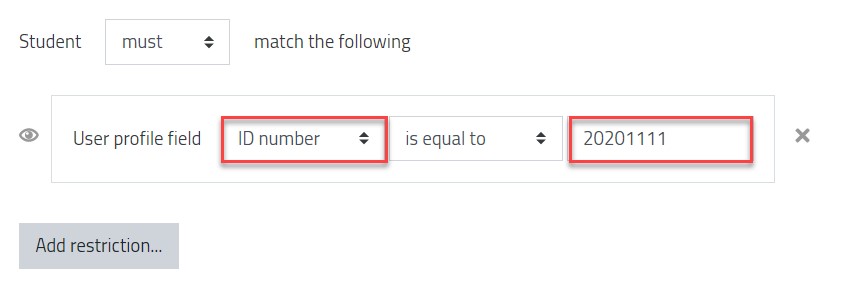
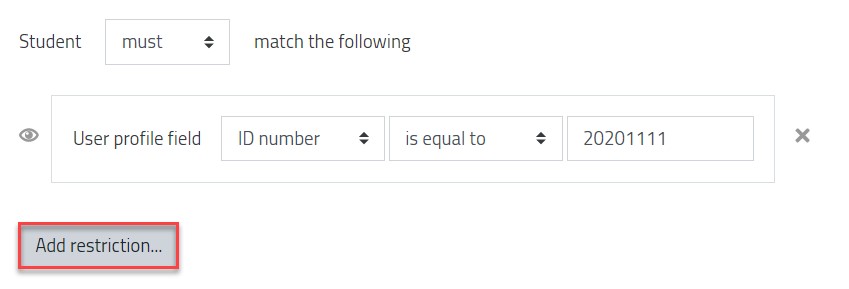
- If you’d like to add multiple students, click on the Add restriction, as illustrated below. Otherwise, skip to step 9 from this section.
- Choose User profile from the list to give access based on the student ID.
- Choose the ID number and enter the student’s ID.

- Change the matching settings to Any.
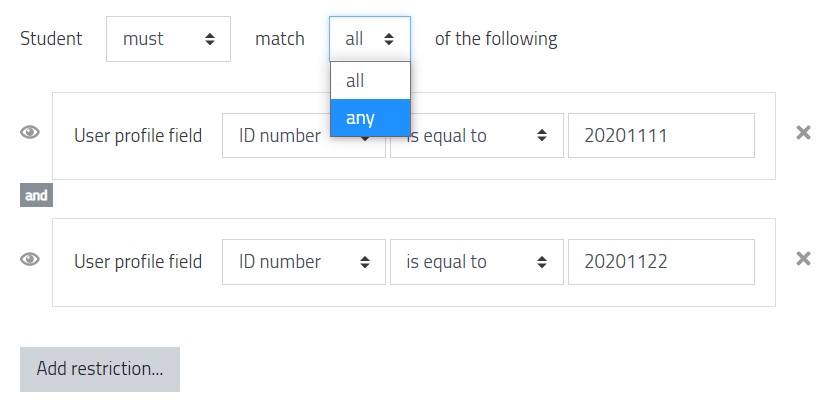 What is the difference between “All” and “Any” in the matching option?
- The All option: it means that the student must have all these IDs to be able to view this part. Choosing this option will restrict the part from all students because there is not any student with more than one ID.
- The Any option: it means that the student must have any of the entered IDs to be able to view this part.
- Perform the same steps until you add all students.
- Once you are done with adding the IDs, click on the Save and return to course button.


Restricting access for an activity/resource that was previously added
If you would like to restrict access for an activity/ resource after adding it to the Moodle course, then follow the below steps.
- Select the course from the Dashboard.
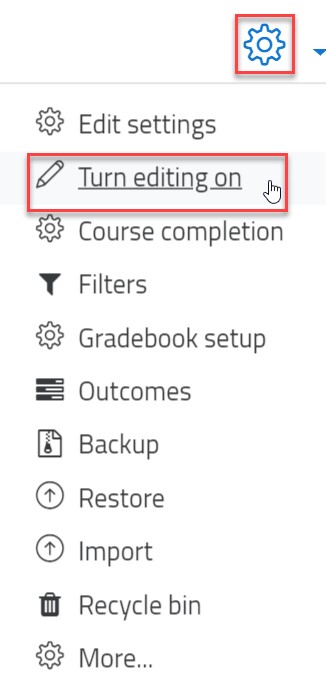
- Inside the course, turn editing on by clicking on the gear icon and then the Turn editing on option.
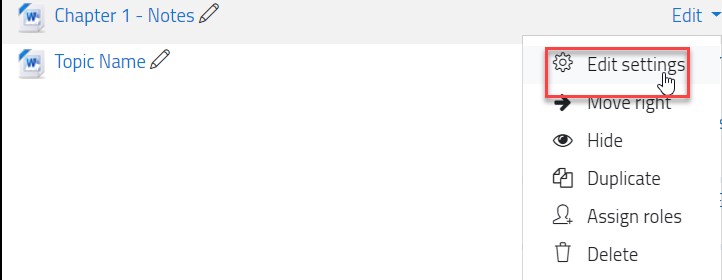
- Choose the activity/ resource to have a restrict access and click on the Edit button and then on the Edit settings button.
- Follow the steps mentioned in the above section.


Was this article helpful?