This feature of Banner allows you to reflect your students’ grades on the system. And there are two ways of doing this, you can either enter the grades for a batch of students at once through an Excel sheet, or enter it manually. The later is advised to be used when you would like to enter/update a grade for very few students.
Important Note:
- The option to enter grades for a batch of students at once is restricted to full-time faculty members only.
- Part-time faculty members are requested to enter the gardes manually.
Enter the Grades for a batch of students at once
To use this method of grade entry, you need to access Argos, Microsoft Excel, and Banner by following the below steps:
Access the Grade Entry Sheet on Argos
- You can access Argos through this link or through Banner’s home page or as illustrated below:
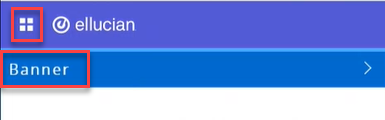
.jpg)
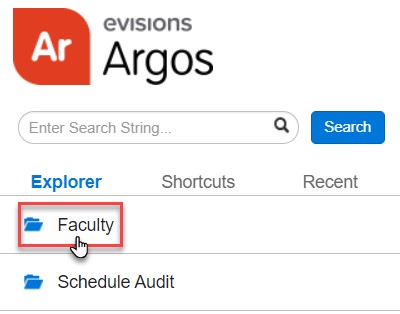
- Click on Argos Web Viewer.
- Go to Faculty folder.
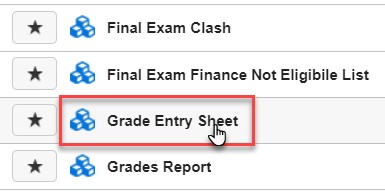
- Click on the Grade Entry Sheet.
- By default, the current semester is chosen. Choose the Exam Type, which reflects the grades you’d like to enter.

- Choose the course.
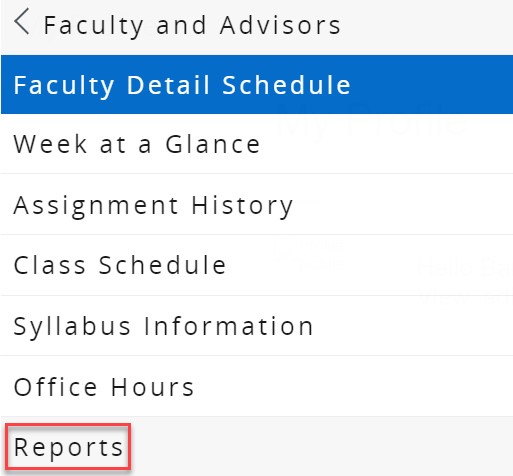
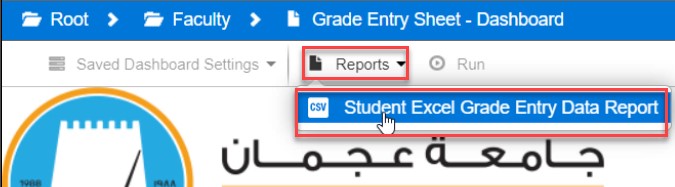
- From the navigator, click on Reports and then on Student Excel Grade Entry Data Report.
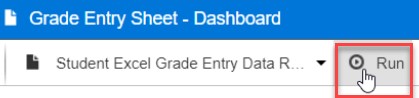
- Click on Run, as illustrated below. This will download a predefined Excel Sheet with a list of all the students in the specified course. Kindly use this sheet to proceed to the next steps.
Fill and save the Grade Entry Sheet
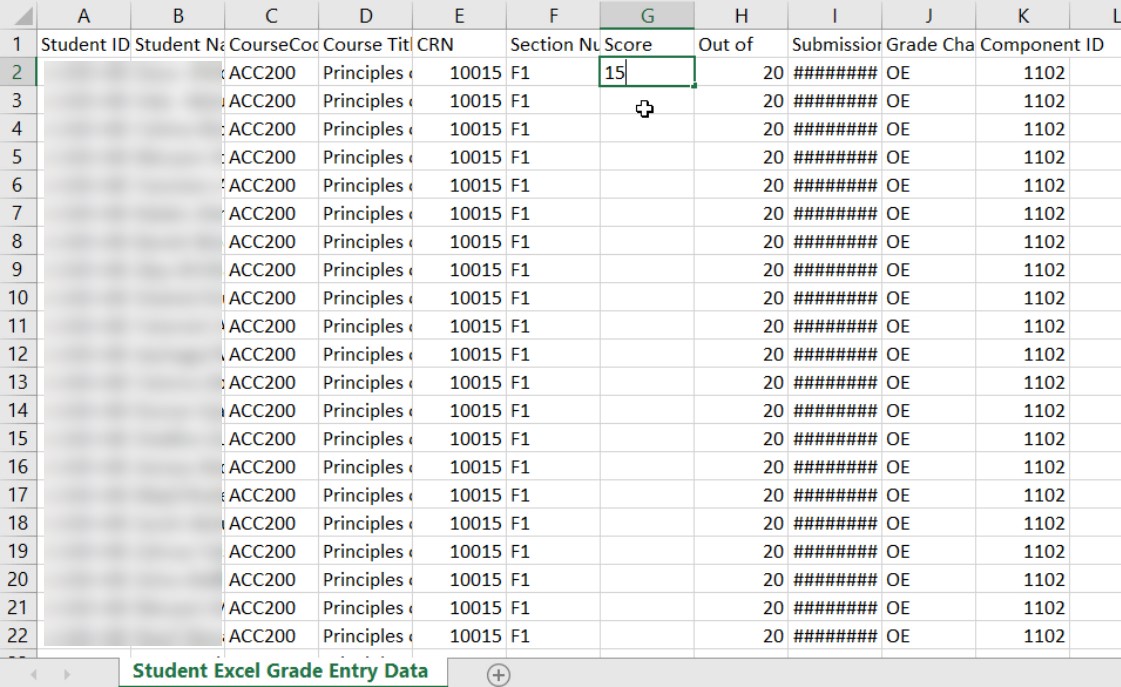
- Open the downloaded Excel sheet.
- Note that the sheet contains the list of student ID, student name, the maximum grade assigned to the Exam Type which was specified in step 5 in the previous section, etc. Fill the Score column (column G) for each student.
 Note:
Note:- You can sort the students based on student ID or name for an easier grade entry.
- You can enter the grades for a few students only and leave the rest empty.
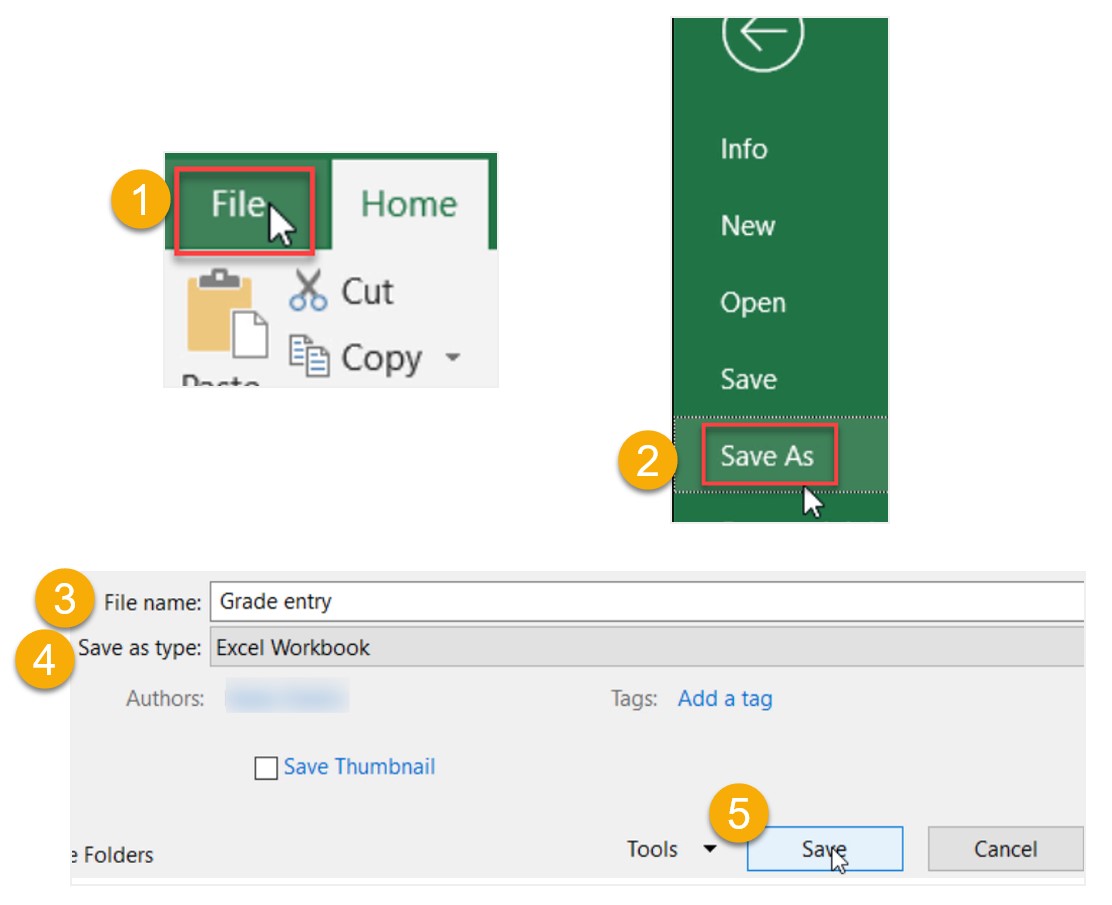
- Save the Excel Sheet in .xls format by following this sequence: Click on File -> Save As -> Enter the File name -> Choose Excel Workbook type -> Click on Save.
Import the Grade Entry Sheet to Banner
- Log in to Banner.
- Go to the menu on the left, click on Banner, then click on Faculty and Advisors and, and then on Grade Entry.
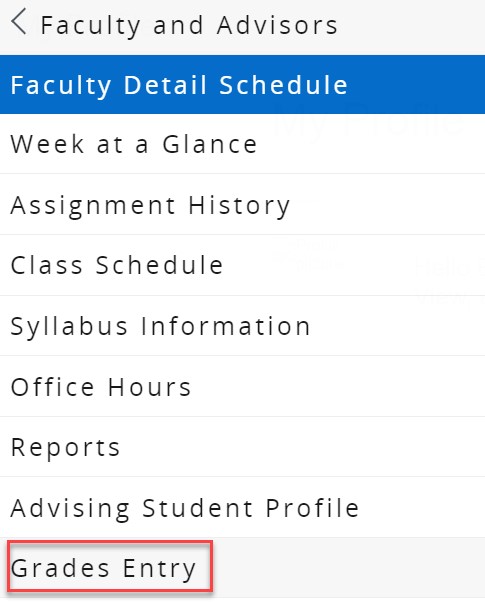
- Click on Gradebook.

- Choose the course, which you have already filled the Excel sheet for, and click on Components.
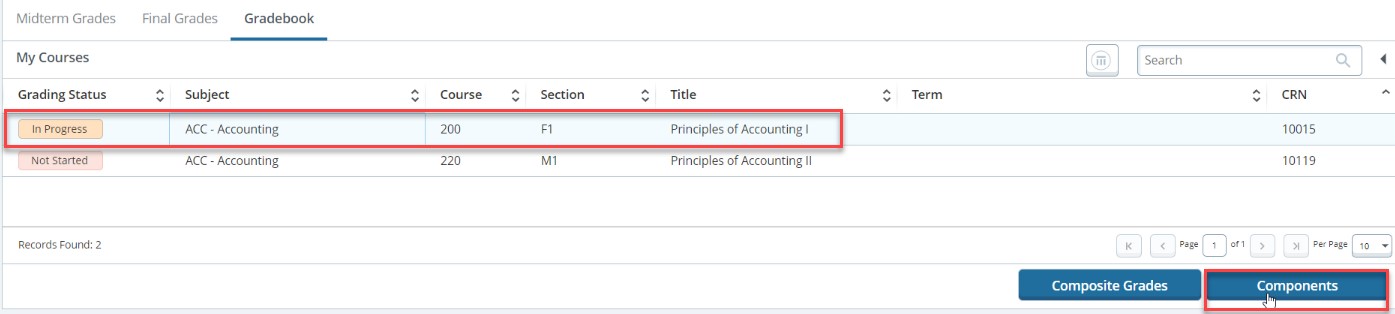
- Click on the Description that matches the Exam Type selected is step 5 in the first section of this article.

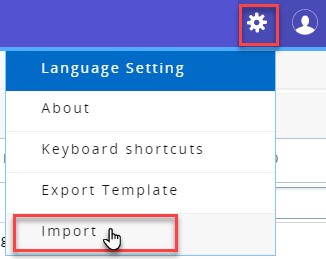
- From the navigator, click on the gear icon then on Import.
- Click on Browse, to locate the Excel Sheet, then click on Upload, and then on Continue.
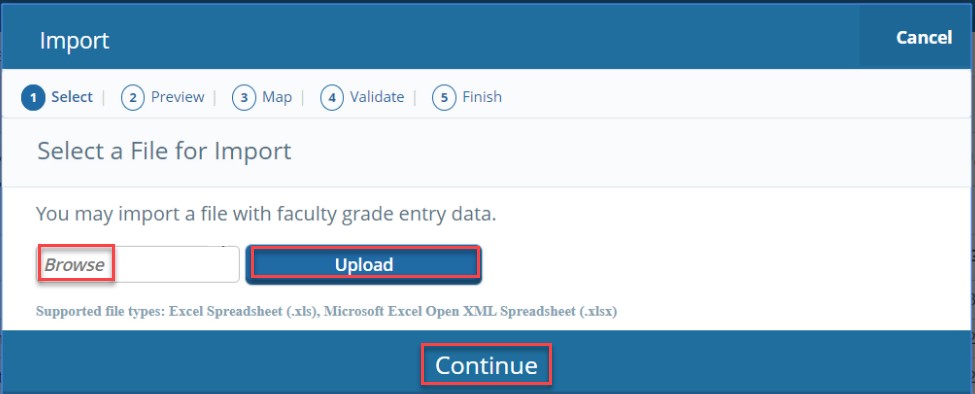
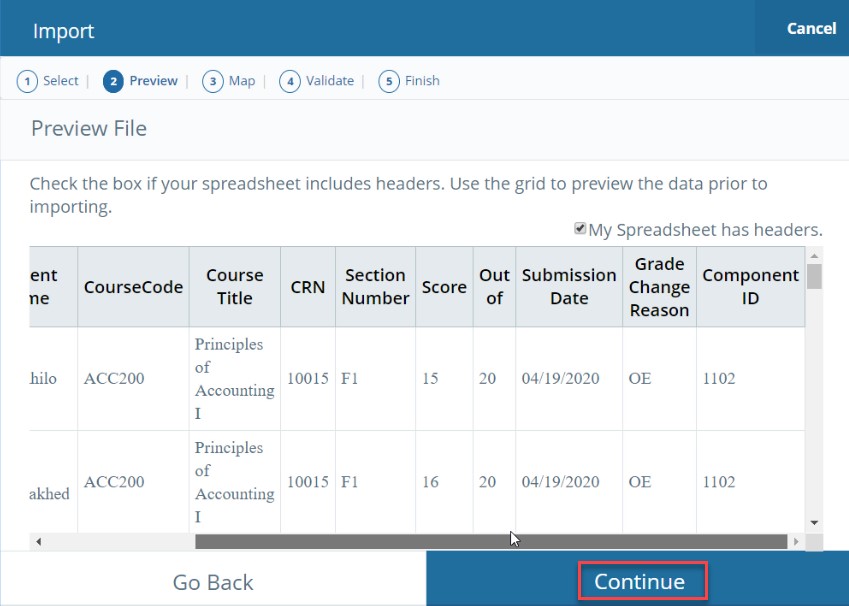
- Preview the data and then click on Continue.
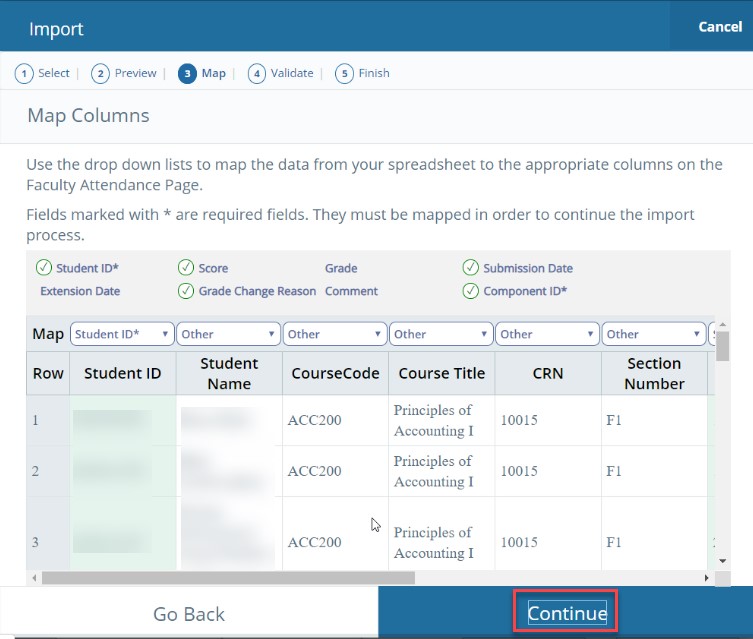
- Click on Continue.
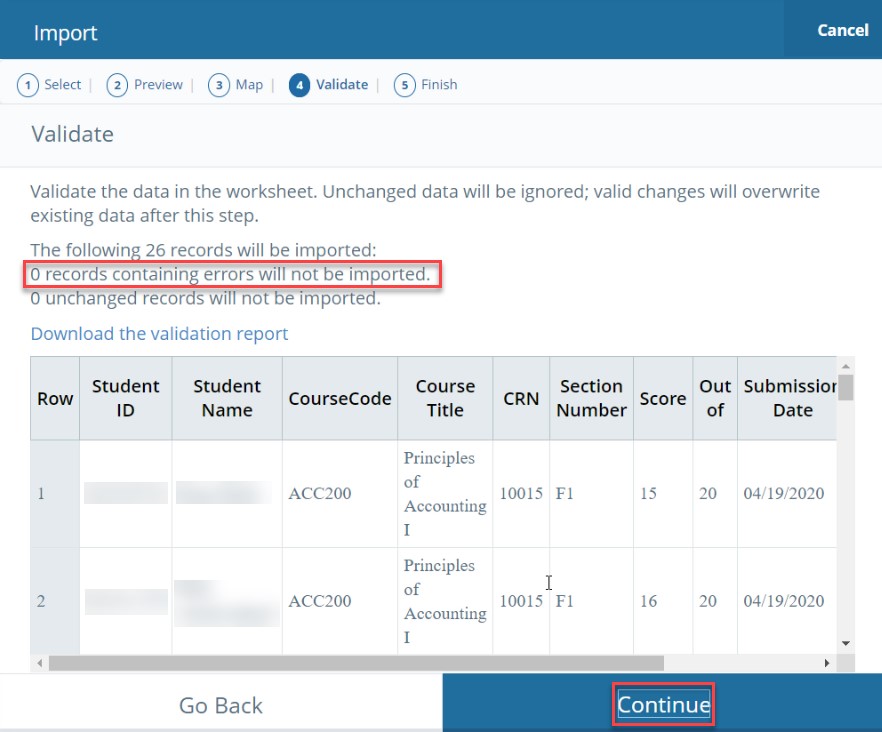
- Check the number of records that contain errors and click on Continue if the are no errors.
 Note:
Note:If there is an error or more, follow the below steps:
- Click on Download the validation report to locate the errors (the cells in the first column will be highlighted in red).
- Implement the needed changes in the Excel Sheet which you have already worked on and saved.
- Save the file.
- Repeat the steps in this section.
- Click on Finish.
Enter/Update the grades manually
- Log in to Banner.
- Go to the menu on the left, click on Banner, then click on Faculty and Advisors and, and then on Grade Entry.
- Click on Gradebook.
- Choose the course, which you have already filled the Excel sheet for, and click on Components.
- Click on the Description that matches the Exam Type selected is step 5 in the first section of this article.

- Enter the grade in the Score column, then scroll down and click Save. Noting that you can enter the grade/update at once for 20 students maximum.